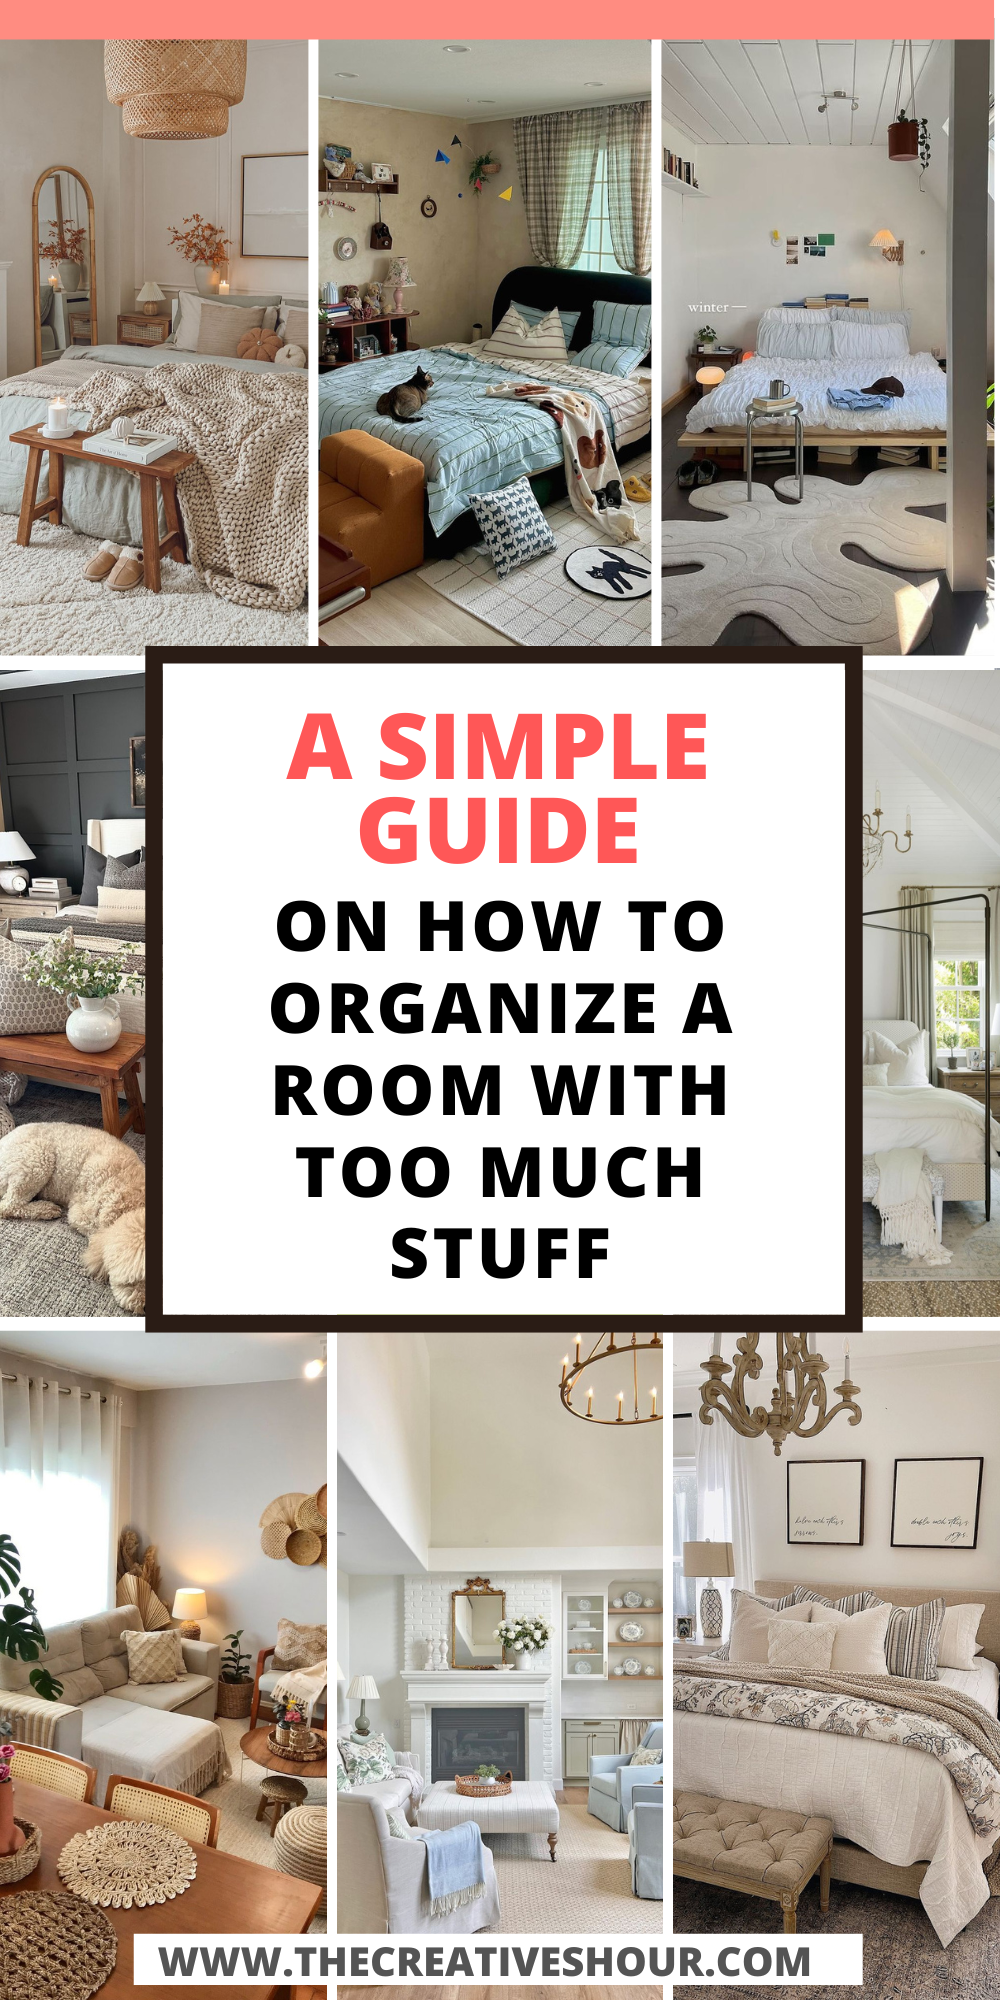
Does your room feel more like a storage unit than a place to relax? A cluttered space can leave you feeling stressed, distracted, and overwhelmed. But don’t worry—organizing doesn’t have to be complicated.
A tidy room can boost your focus, reduce stress, and make your space more functional. I’ve been there too—standing in the middle of chaos, unsure where to start. The good news? With a few simple steps, anyone can turn a cluttered room into an organized haven.
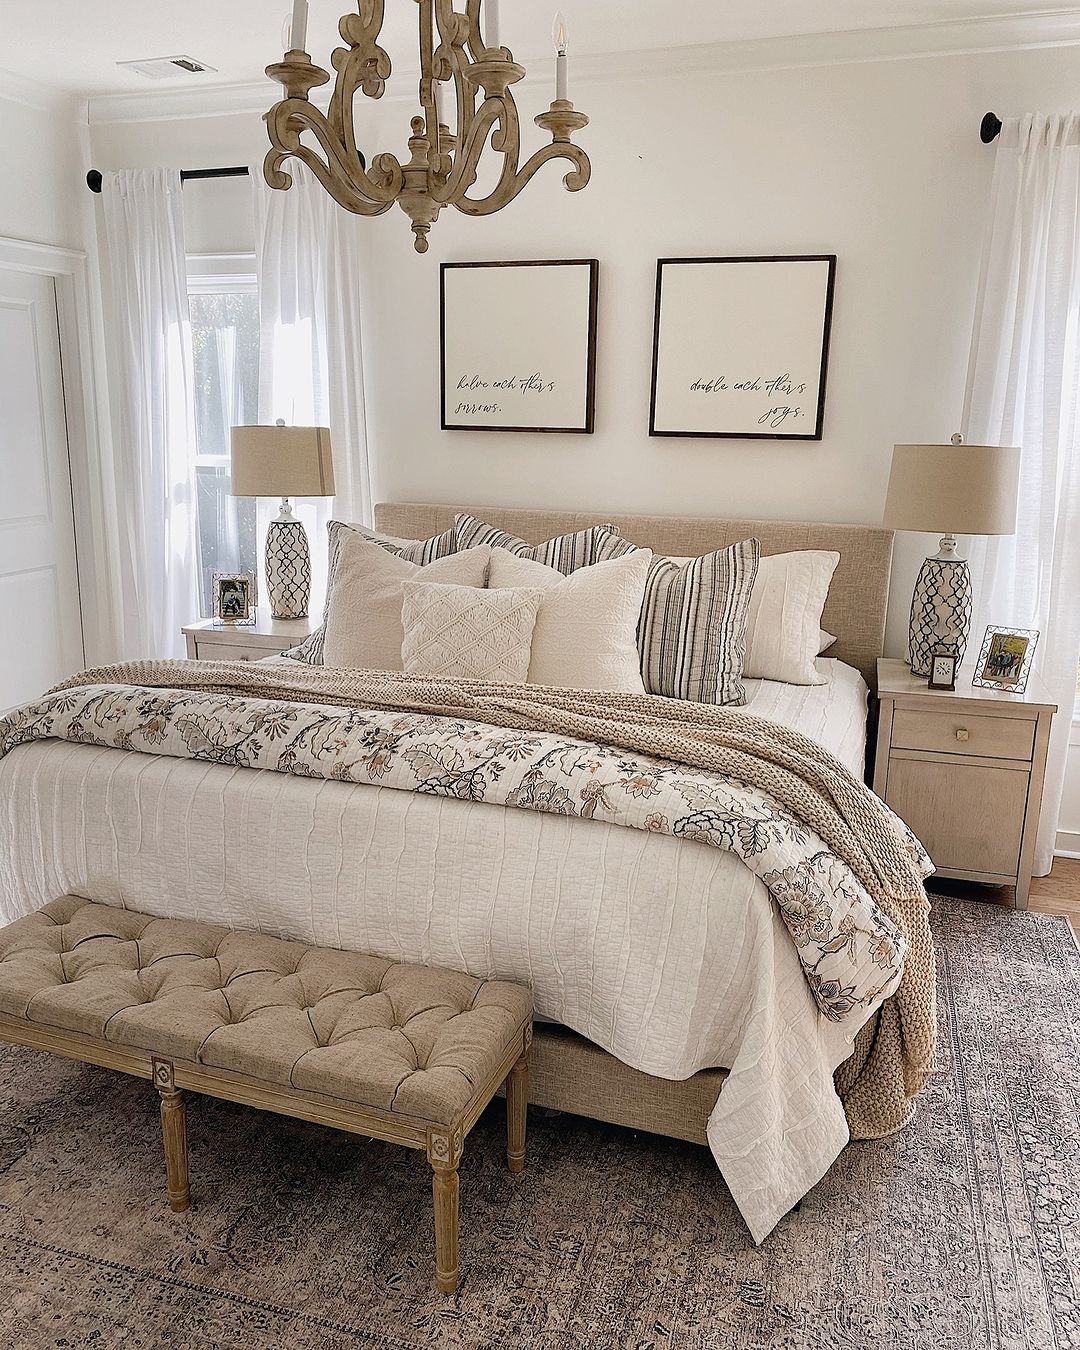
Image by shegaveitago
This guide will walk you through the process, one manageable step at a time. Let’s get started!
Step 1: Assess the Clutter
Before you start organizing, take a moment to figure out why your room feels so crowded. Is it because you don’t have enough storage? Or are you holding onto things you don’t really need, like that broken lamp or clothes you haven’t worn in years?
Look around and make a quick mental list of what’s in the room. What do you use regularly, and what’s just taking up space? A simple trick is to imagine you’re moving—what would you pack, and what would you leave behind?

By understanding what’s causing the clutter, you’ll know how to fix it. Whether it’s finding better storage or letting go of unused items, this first step sets the stage for real progress.
Genevieve Gorder, Interior Designer and TV Host: “Your home is the introduction to you. It’s a display case of your life. Be careful with her.”
Step 2: Declutter with Purpose
Now it’s time to roll up your sleeves and start decluttering. The best way? The classic “Keep, Donate, Toss” method. It’s simple: pick up an item and ask yourself, Do I use it? Do I love it? If the answer is no, it’s time to let it go.
Here’s where things get tricky—sentimental vs. practical items. That sweater from high school might hold memories, but is it really worth the closet space if you haven’t worn it in years? Try this: take a photo of sentimental items you’re ready to part with. You’ll still have the memory without the mess.
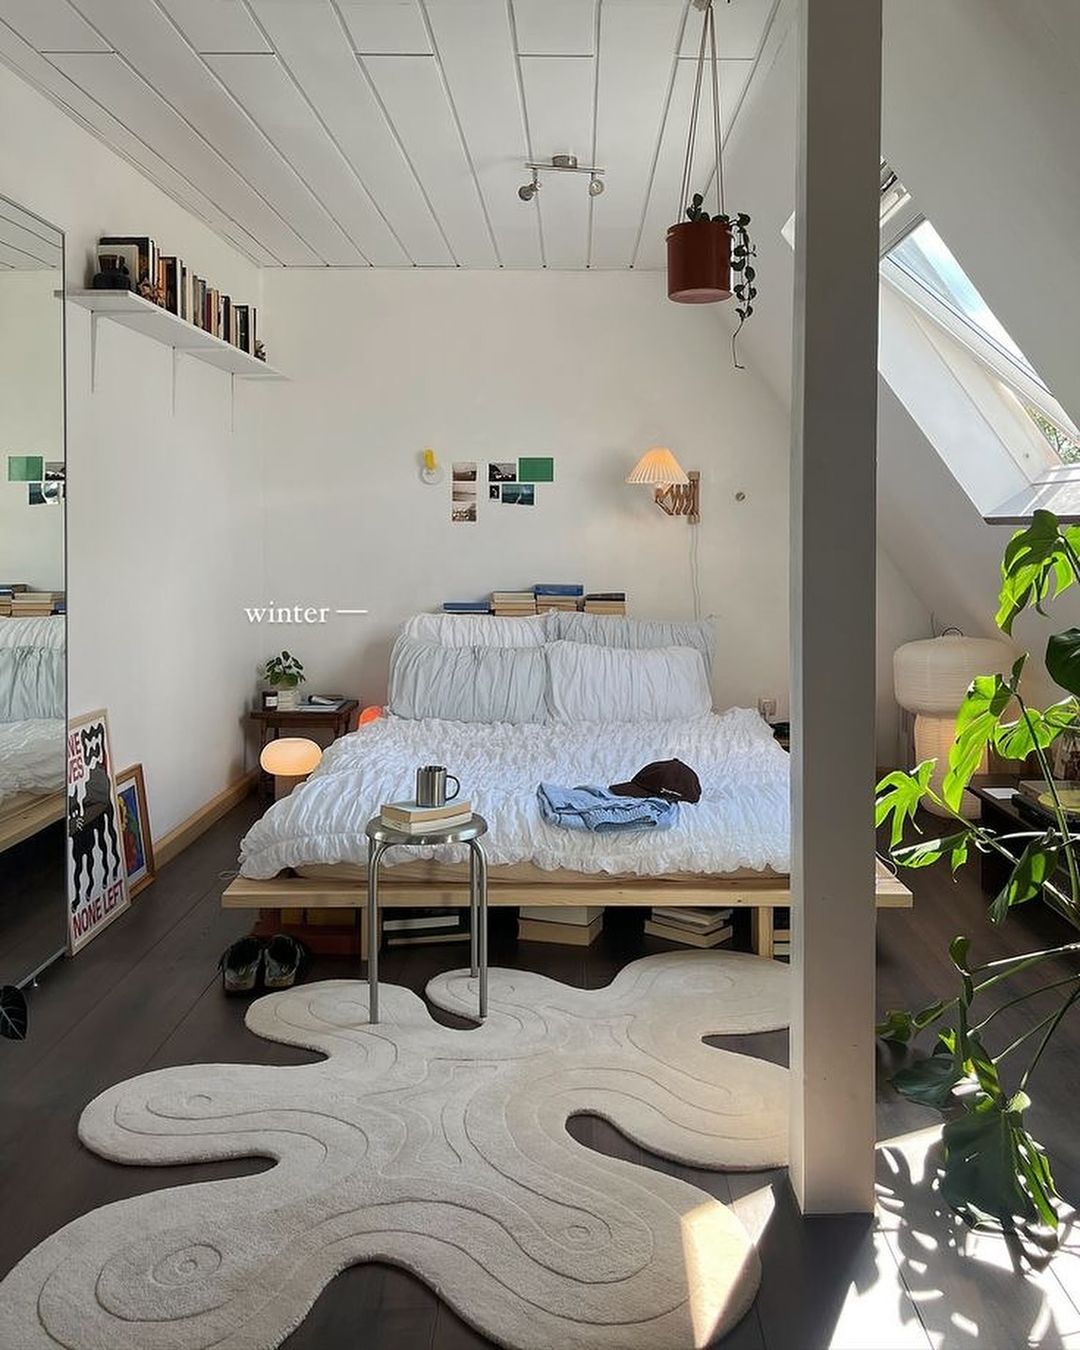
Image by itaintblue
Staying motivated can be tough, especially when you’re faced with piles of stuff. Set small goals, like tackling one drawer or one shelf at a time. Put on your favorite playlist or a feel-good show in the background to keep the energy up. And remember, every item you let go is a step closer to a cleaner, calmer space.
Caitlin Higgins, Contributor at Style by Emily Henderson: “I don’t know if you’ve also suffered from ‘if I can’t do it perfectly the first time, I don’t want to do it at all’ disease, but finally accepting that marginal gains are just as valuable as a weekend-long cleaning spree has been incredibly motivating and empowering.”
Step 3: Sort Items into Categories
With the clutter gone, it’s time to organize! Start by grouping similar items together—books, clothes, gadgets, decor. This makes it easier to find what you need later and keeps everything in its place.
Give each category a “home.” For example, books can go on a specific shelf, and everyday items like chargers can have a designated spot. When I did this, I found three sets of headphones scattered around my room—once grouped together, I realized I didn’t need all of them.
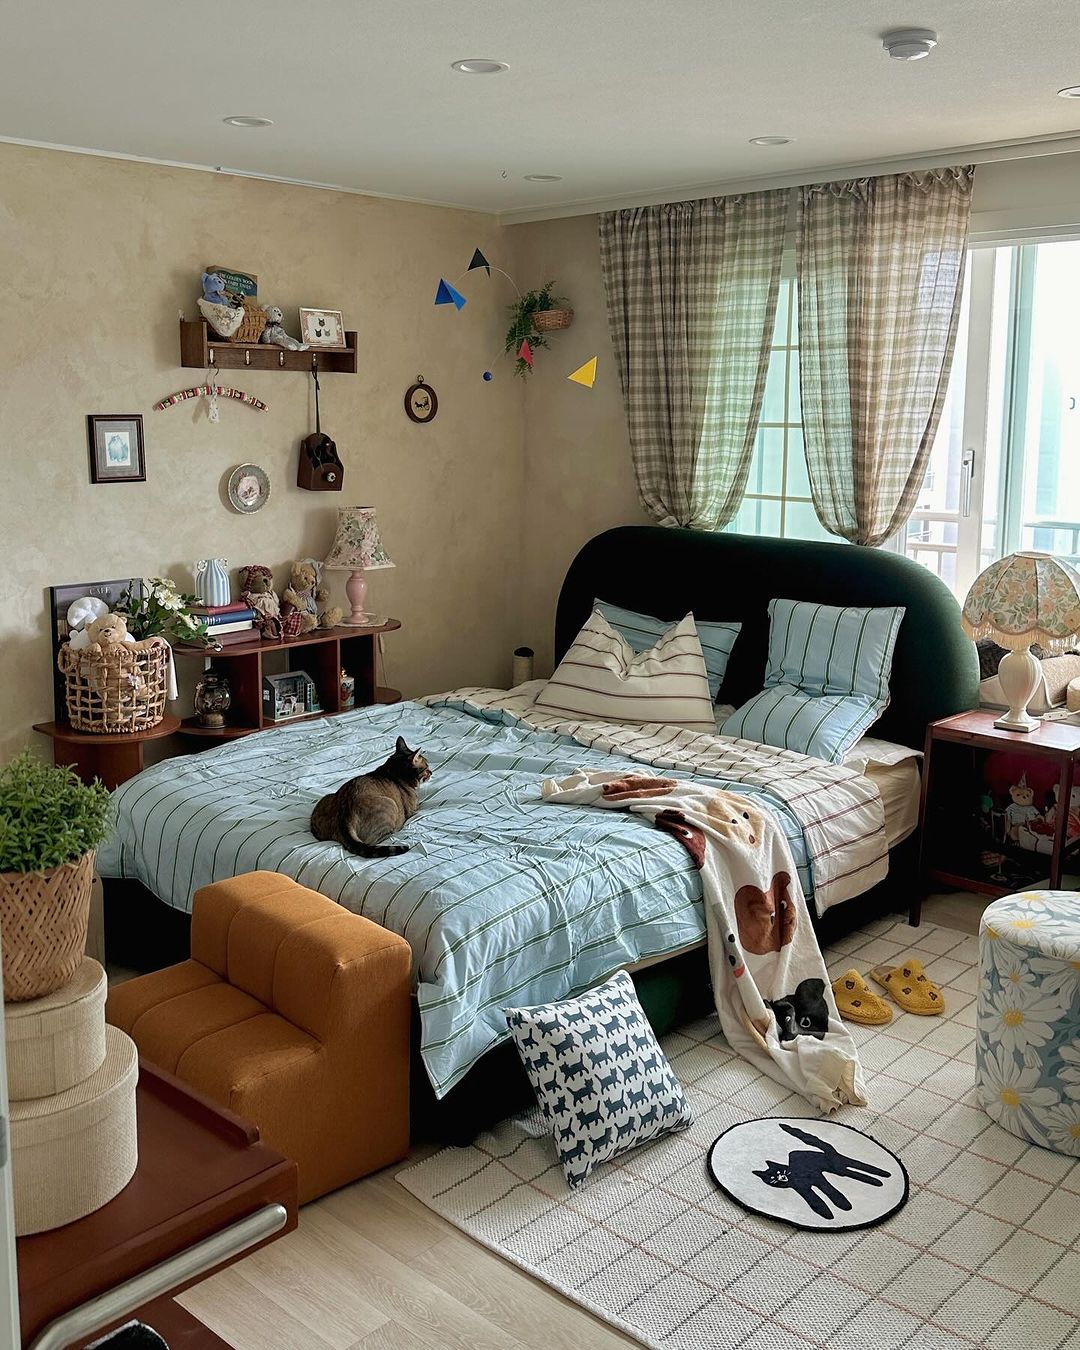
Image by lle.__.d
Bobby Berk, Interior Designer and TV Personality: “Keeping objects grouped together means you’ll know exactly where they are (and where to put them back when you’re done). This goes for kitchen cabinets, bathroom vanities, and any other space you’re stashing goods.”
Pro Tip: Label shelves or containers to stay even more organized. It saves time and keeps things tidy!
Step 4: Maximize Storage Solutions
Once everything is sorted, it’s time to think about storage. The goal? Make the most of your space without breaking the bank. Creative solutions like under-bed bins, stackable boxes, or wall-mounted shelves can work wonders. Have awkward corners or empty walls? Those are prime real estate for extra storage!
If you’re on a budget, there are plenty of affordable options. Repurpose old items—like using mason jars for small items or shoe boxes for accessories. I once turned a wooden crate into a storage box for my books, and it looked so chic I didn’t even need to hide it!

Image by tuftandtrim
Here’s where the idea of “zones” comes in. Group your items by category and assign each group its own zone. For example, keep all your work supplies on one shelf, your clothes in the closet, and seasonal items in bins under the bed. This makes it easier to find things and keeps your space functional.
Chris and Julia Marcum, Founders of Chris Loves Julia: “We have wire storage organizers for this part of our kitchen, and it’s making me want to host even more.”
Step 5: Rearrange the Room
With everything decluttered and sorted, it’s time for the fun part: rearranging your room. Start by moving the larger items, like furniture, to free up space and give yourself a better idea of the layout. Think about what makes the most sense for your daily activities—where do you want to relax, work, or store frequently used items?
Emily Henderson, Stylist and TV Host: “Give 30″ to 36″ of a walkway between large furniture pieces (if your living room allows for it); if not, then at least 18″-24″. Make sure there is no less than 3.5′ and no more than 10′ of space between seating.”
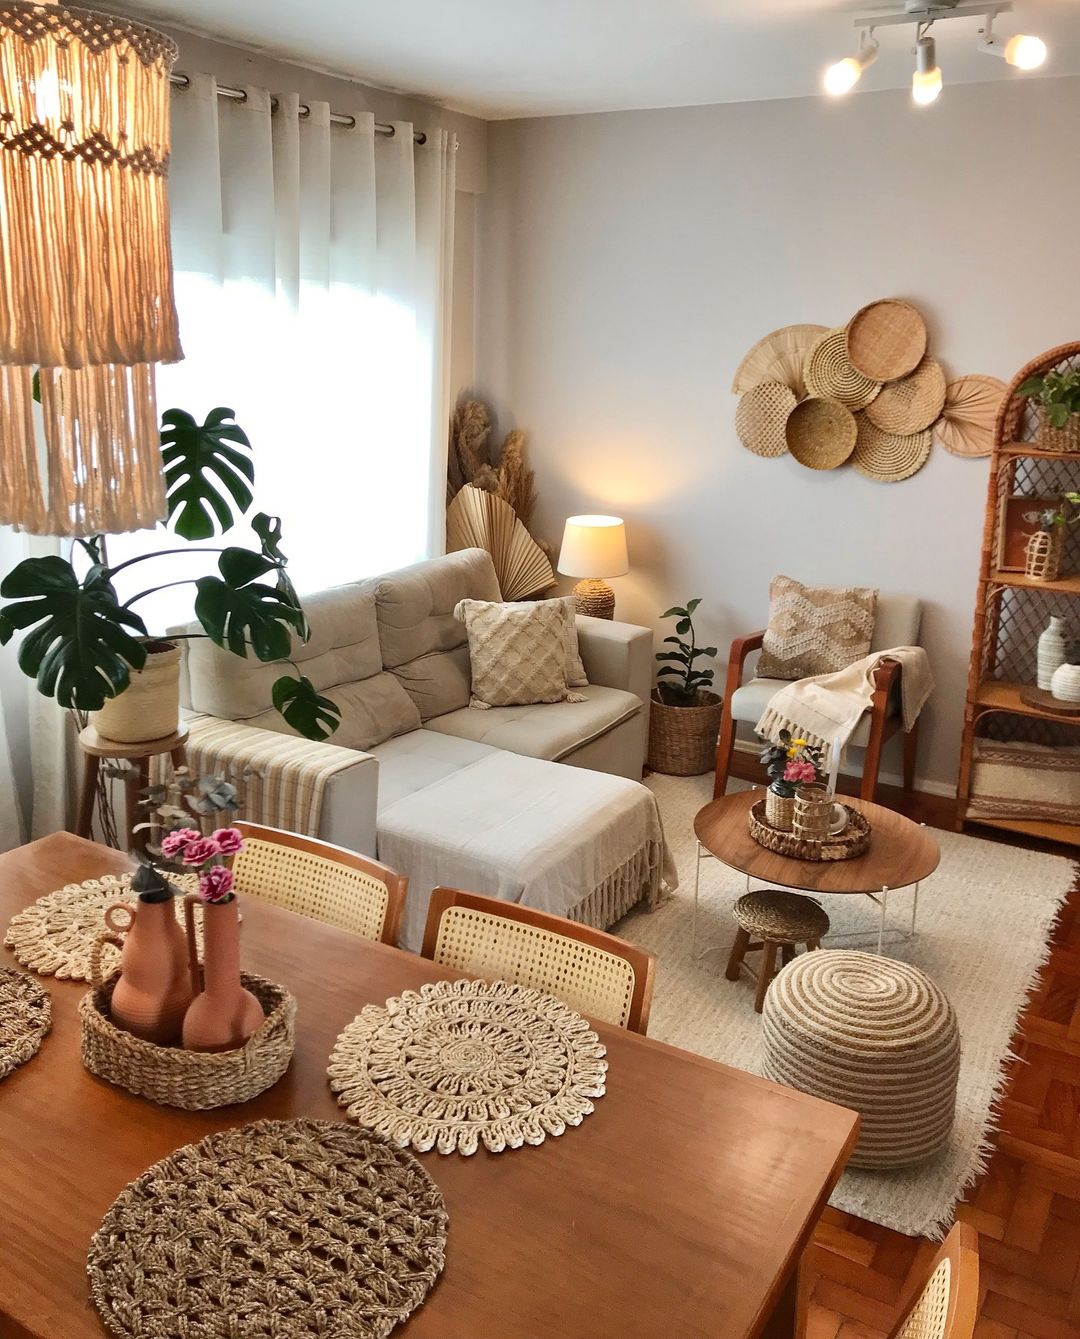
Image by decor_rachel
Here’s a tip: prioritize functionality first, then aesthetics. That cozy chair might look great by the window, but if it’s blocking access to your dresser, it’s not practical. When I rearranged my own room, I moved my bed to create more walking space, and suddenly the whole room felt bigger.
Play around with different layouts until you find one that feels right. Don’t be afraid to experiment! And remember, balance is key—try not to crowd one side of the room while leaving another completely empty.
Emily A. Clark, Interior Designer and Blogger: “Use artwork and rugs to help define separate areas. What’s on your walls and floor can also help to break up a long room.”
Step 6: Develop Habits to Maintain Organization
Congratulations, your room is organized! But the secret to keeping it that way is building simple habits that stick. The good news? You don’t need to spend hours cleaning every day. A few small changes can make a big difference.
Start with a daily routine: spend just five minutes tidying up. Put items back in their designated spots, like returning your books to the shelf or hanging your coat in the closet. It’s easier to keep things neat when you tackle small messes right away instead of letting them pile up.

Image by thewhitehoneyhome
Set aside time for a weekly reset. Use this moment to do a quick sweep of your room—dust surfaces, tidy up forgotten corners, and put away anything that’s wandered out of place. Think of it as a mini check-in with your space.
Tasha Agruso, Creator of Kaleidoscope Living: “Making the most of vertical space is key when you are living in a small space or trying to organize a small room. Most rooms have wall space so use it!”
Conclusion
An organized room isn’t just about making your space look good—it’s about creating a calm, functional environment where you can focus and feel at ease. When everything has its place, you’ll save time, reduce stress, and maybe even discover a little extra joy in your daily routine.
Remember, you don’t have to tackle the entire room at once. Start small—maybe with one drawer, one shelf, or even just one corner. Progress, no matter how tiny, is still progress. And once you see the difference, you’ll feel motivated to keep going.
I’ve been there, standing in a chaotic room wondering where to start. But taking it step by step made the task manageable—and surprisingly rewarding. Now it’s your turn! Share your before-and-after photos, celebrate your progress, and inspire others to reclaim their spaces.
So, what are you waiting for? Start your room transformation today. Your future self will thank you!

If you love these ideas, don’t forget to pin the above image to your “Home and Garden” board.
