
Hanging plants are a simple way to add charm and greenery to your home while saving space. They’re perfect for small apartments, bringing life to blank ceilings, or just adding a cozy, natural vibe to any room. Plus, they improve air circulation and make your decor feel fresh and inviting.
If you think hanging plants is complicated, don’t worry—this guide breaks it down step by step, so even beginners can create their own ceiling garden with ease. Let’s get started!

Image by homebohodesign
Materials You’ll Need
Before you start, gather these essential tools and materials:
- Ceiling Hooks: Choose sturdy hooks that can support the weight of your plants.
- Drill: A power drill will make installing hooks quick and easy.
- Stud Finder: To locate the safest spot to hang your plants.
- Rope, Chains, or Wire: For securing the planter at your desired height.
- Hanging Planters: Pick one that suits your plant and matches your decor style.
Optional items for added safety and customization:
- Anchors: Use ceiling anchors if you can’t find a stud for extra support.
- Carabiners: For easy removal and reattachment of planters.
- Measuring Tape: To ensure your plants are hung evenly and at the perfect height.
- Drip Trays or Saucers: To catch water and protect your floors from spills.
With these tools in hand, you’re ready to create a stunning ceiling garden!

Image by thesill
Step 1: Choose the Right Spot
Start by finding a spot where your plant can thrive. Does it need lots of sunlight, or does it prefer shade? Check for a sturdy ceiling area using a stud finder to ensure it can handle the weight of your plant.
Avoid placing your plant near ceiling fans or doorways, where it might get bumped or damaged. Hold up the planter in different spots to see what looks best before drilling.
Orlando Soria, Interior designer and blogger at Hommemaker: “Hanging plants near windows can enhance natural light and bring a touch of greenery indoors without occupying floor space.”
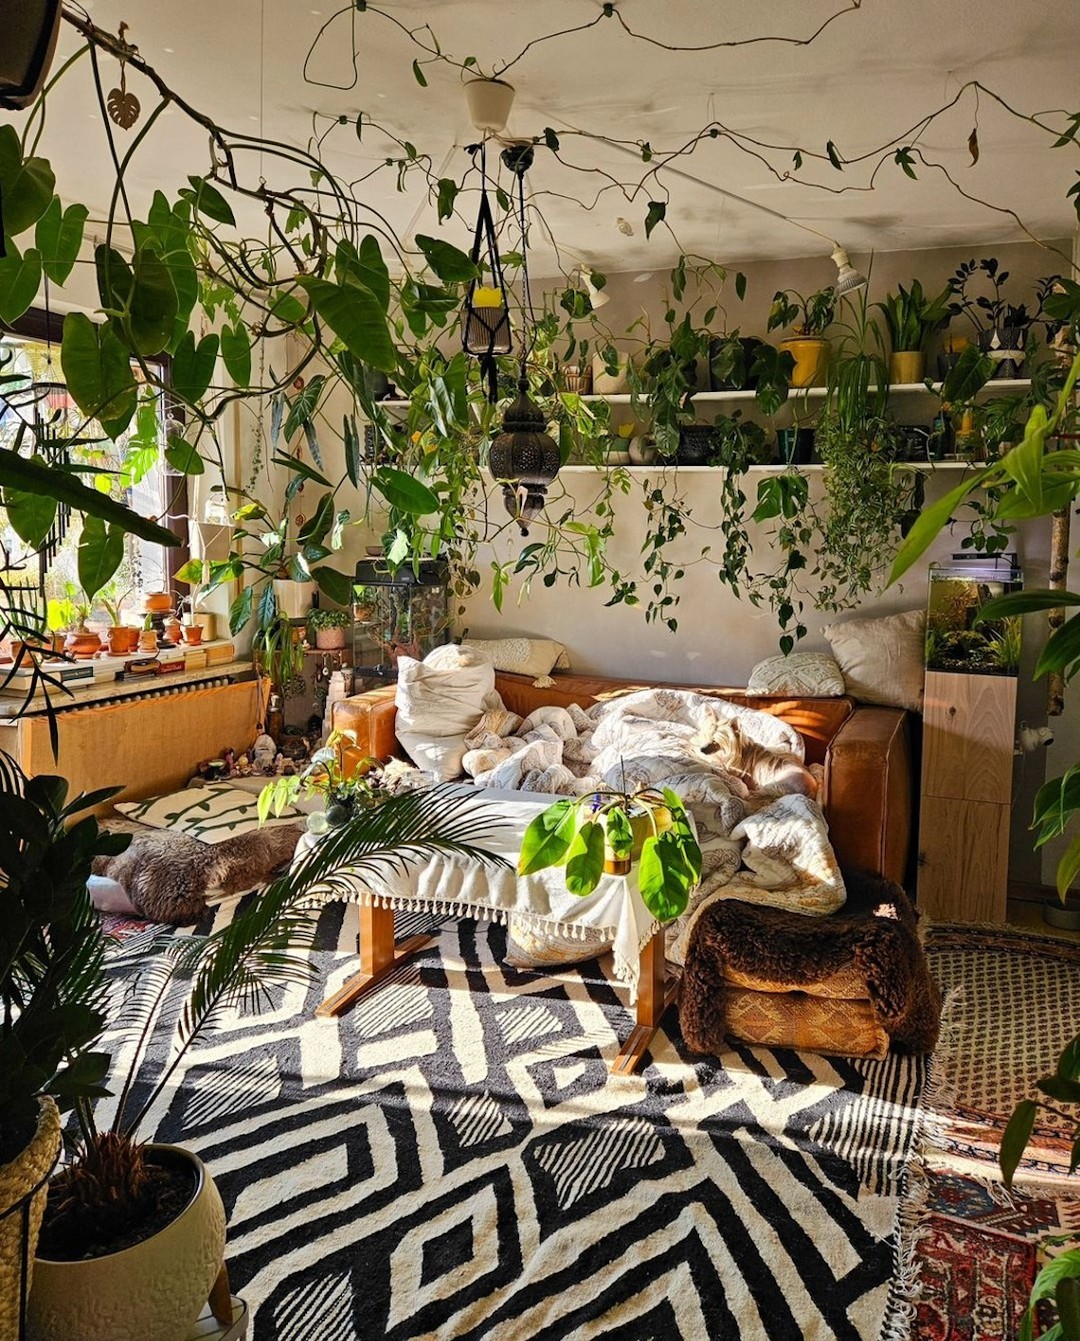
Image by nestingwithgrace
Step 2: Pick the Perfect Planters
Choosing the right planter is where function meets style. It’s not just about holding your plant—it’s about making it look amazing while keeping it happy. There are so many styles to choose from, so let’s break it down:
- Macramé Hangers: These are perfect for adding a boho touch to your space. The woven designs add texture, and they’re great for lightweight plants like pothos or string of pearls.
- Metal Planters: Sleek and modern, metal planters bring a polished look to your room. They’re durable and pair well with minimalist or industrial themes.
- Ceramic Pots: These come in endless shapes, colors, and patterns, making them a go-to for personalizing your decor. Just make sure they’re lightweight enough for ceiling hanging.
When picking a planter, think about your room’s vibe. Got a cozy, rustic theme? Go for warm-toned ceramics or natural materials like wood. If your space is more modern, opt for metals or monochrome designs. And don’t forget your plant! A leafy, trailing plant will look stunning in a macramé hanger, while succulents might need a shallow, lightweight ceramic pot.

Image by interior_boho
Nate Berkus, Celebrity interior designer: “Incorporate hanging plants in unexpected places, like bathrooms or kitchens, to add life and freshness to utilitarian spaces.”
Step 3: Find a Stud or Use Ceiling Anchors
Hanging plants look lovely, but safety comes first. A planter crashing to the floor—or worse, on someone’s head—is the opposite of relaxing decor. This is why securing your plant to a sturdy ceiling is non-negotiable.
Start by looking for a ceiling stud. A stud is a solid wooden beam behind the ceiling that can safely bear the weight of your planter. Use a stud finder (yes, it’s as simple as running a tool along the ceiling) to locate one. Found it? Great! That’s your safe zone for drilling.
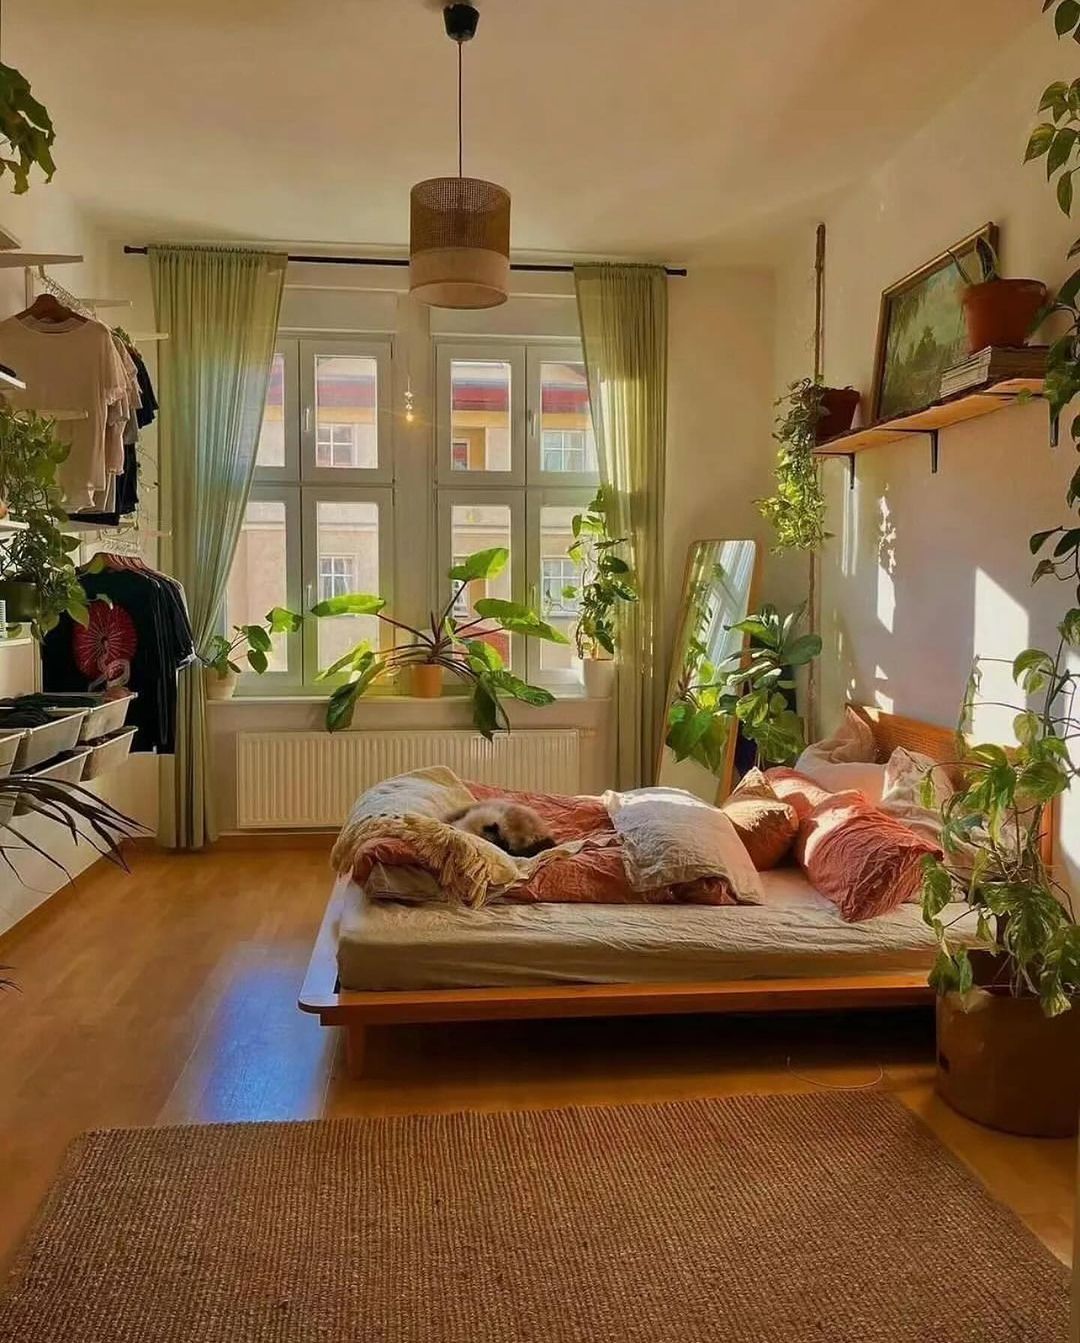
Image by urbanjungleblog
But what if you can’t find a stud? Don’t worry; you’re not out of options. This is where ceiling anchors come to the rescue. These handy little devices provide extra support by spreading the weight evenly across the drywall. Just make sure you’re using anchors rated for the weight of your planter.
Sarah Sherman Samuel, Designer with a minimalist, modern aesthetic: “Use ceiling hooks with a swivel feature to allow plants to rotate, ensuring even sunlight exposure and growth.”
Step 4: Install the Hook
Now comes the fun (and slightly nerve-wracking) part—installing the hook! Don’t worry; with a little patience, you’ll have it done in no time. Follow these steps to get it right:
- Mark the Spot
Grab a pencil and mark the spot where you want the hook. Double-check that it’s aligned with the stud or where you plan to use a ceiling anchor. Trust me, erasing a pencil mark is much easier than patching a hole. - Drill the Hole
Use a drill bit slightly smaller than the screw on your hook. This creates a snug fit and ensures the hook won’t wiggle loose over time. If you’re drilling into a stud, you’re good to go! For drywall, you’ll need an anchor next. - Insert the Anchor (If Needed)
Push the anchor into the hole until it’s flush with the ceiling. It might take a gentle tap with a hammer—nothing too aggressive, though. Anchors are like the safety net for your ceiling, so don’t skip this step if there’s no stud. - Screw in the Hook
Twist the hook into the hole or anchor until it’s snug and secure. A little elbow grease goes a long way here. Once it’s in, give it a gentle tug to ensure it’s stable. If it wobbles, tighten it further.
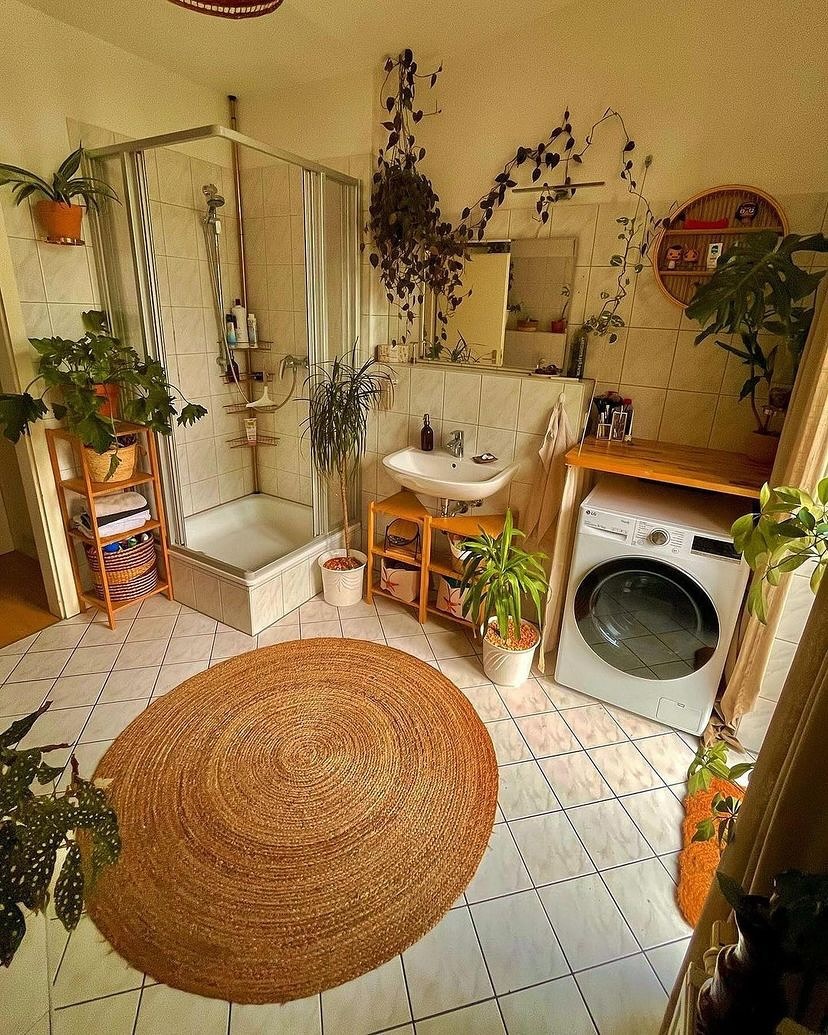
Image by mybohoabode
Emily Henderson, Stylist and Author: “A shelf sounds like a great solution! But until then, command hooks could work for hanging anything – the wreath, artwork, mirror, cute garland/bunting, etc. You could hang plants from the ceiling to bring in greenery.”
Step 5: Hang the Planter
Joanna Gaines, Co-host of HGTV’s Fixer Upper and author: “Choose hanging planters that complement your room’s aesthetic, whether it’s rustic, modern, or bohemian, to maintain a cohesive design.”
Now it’s time to hang your plant! Follow these simple steps:
- Attach the Planter
Use rope, chains, or hooks to hang the planter securely. Tie strong knots or adjust the chain length to get it just right. - Adjust the Height
Hang the plant at a height that’s easy to water but high enough to stay out of the way. Step back and check if it looks balanced with the rest of the room. - Test Stability
Gently pull on the planter to make sure everything is secure and steady.
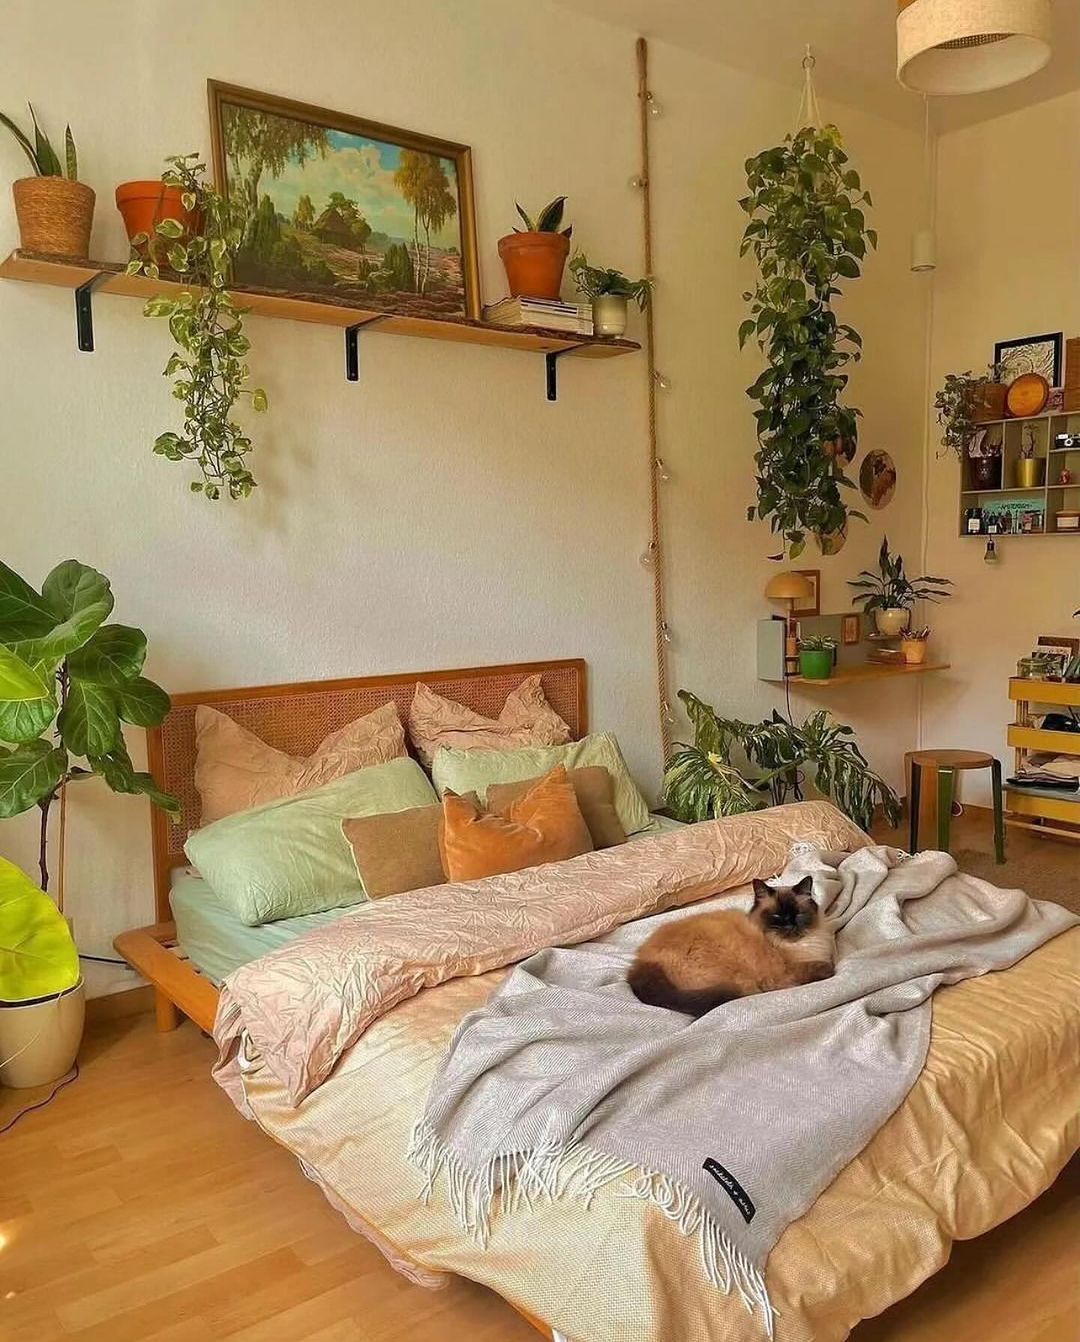
Image by urbanjungleblog
Pro Tip: If you’re hanging more than one planter, vary the heights for a layered look.
Justina Blakeney, Designer and Founder of The Jungalow: “More is more: hang plants from the ceiling and around the shower head, and place them on a bench and on the floor.”
That’s it! Your ceiling garden is ready to brighten up your space. Enjoy your new hanging greenery!
Creative Hanging Ideas
Take your hanging plants to the next level with these easy and fun ideas:
- Layered Heights
Hang multiple plants at different heights for a dynamic, stylish look. Mix trailing plants like ivy with upright ones for contrast. - Add Lights
Wrap string or fairy lights around the ropes or between the plants for a cozy, magical vibe. Perfect for brightening up corners or creating a soft glow. - Decorative Touches
Include lightweight decorations like lanterns, beads, or small ornaments to add personality to your setup. - Corner Clusters
Group several plants together in an empty corner, varying the heights to make a bold, lush statement. - Seasonal Twists
Add ribbons or small decorations to your planters for a festive, seasonal touch.

Image by mybohoabode
Amber Lewis, Founder of Amber Interiors: “Opt for lightweight pots and consider the plant’s mature size to prevent overloading your ceiling fixtures.”
With these ideas, your hanging plants will do more than beautify your space—they’ll become a standout feature!
Conclusion
Hanging plants from the ceiling isn’t just a practical way to save space—it’s an easy and creative way to bring life and personality to your home. With just a few tools, some simple steps, and a little imagination, you can transform your ceiling into a lush, floating garden.
What’s the best part? It’s completely customizable. Whether you’re going for a minimalist vibe with one elegant planter or a boho jungle with layers of greenery and lights, the possibilities are endless. And trust me, nothing beats the satisfaction of looking up at your creation and thinking, Wow, I did that.
So why not give it a try? Start small, experiment, and let your creativity grow along with your plants. If you found this guide helpful, share it with your fellow plant-loving friends or explore more plant decor ideas on my blog. Your dream ceiling garden is just a few steps away—literally!
Happy hanging, and may your plants thrive as beautifully as your creativity!
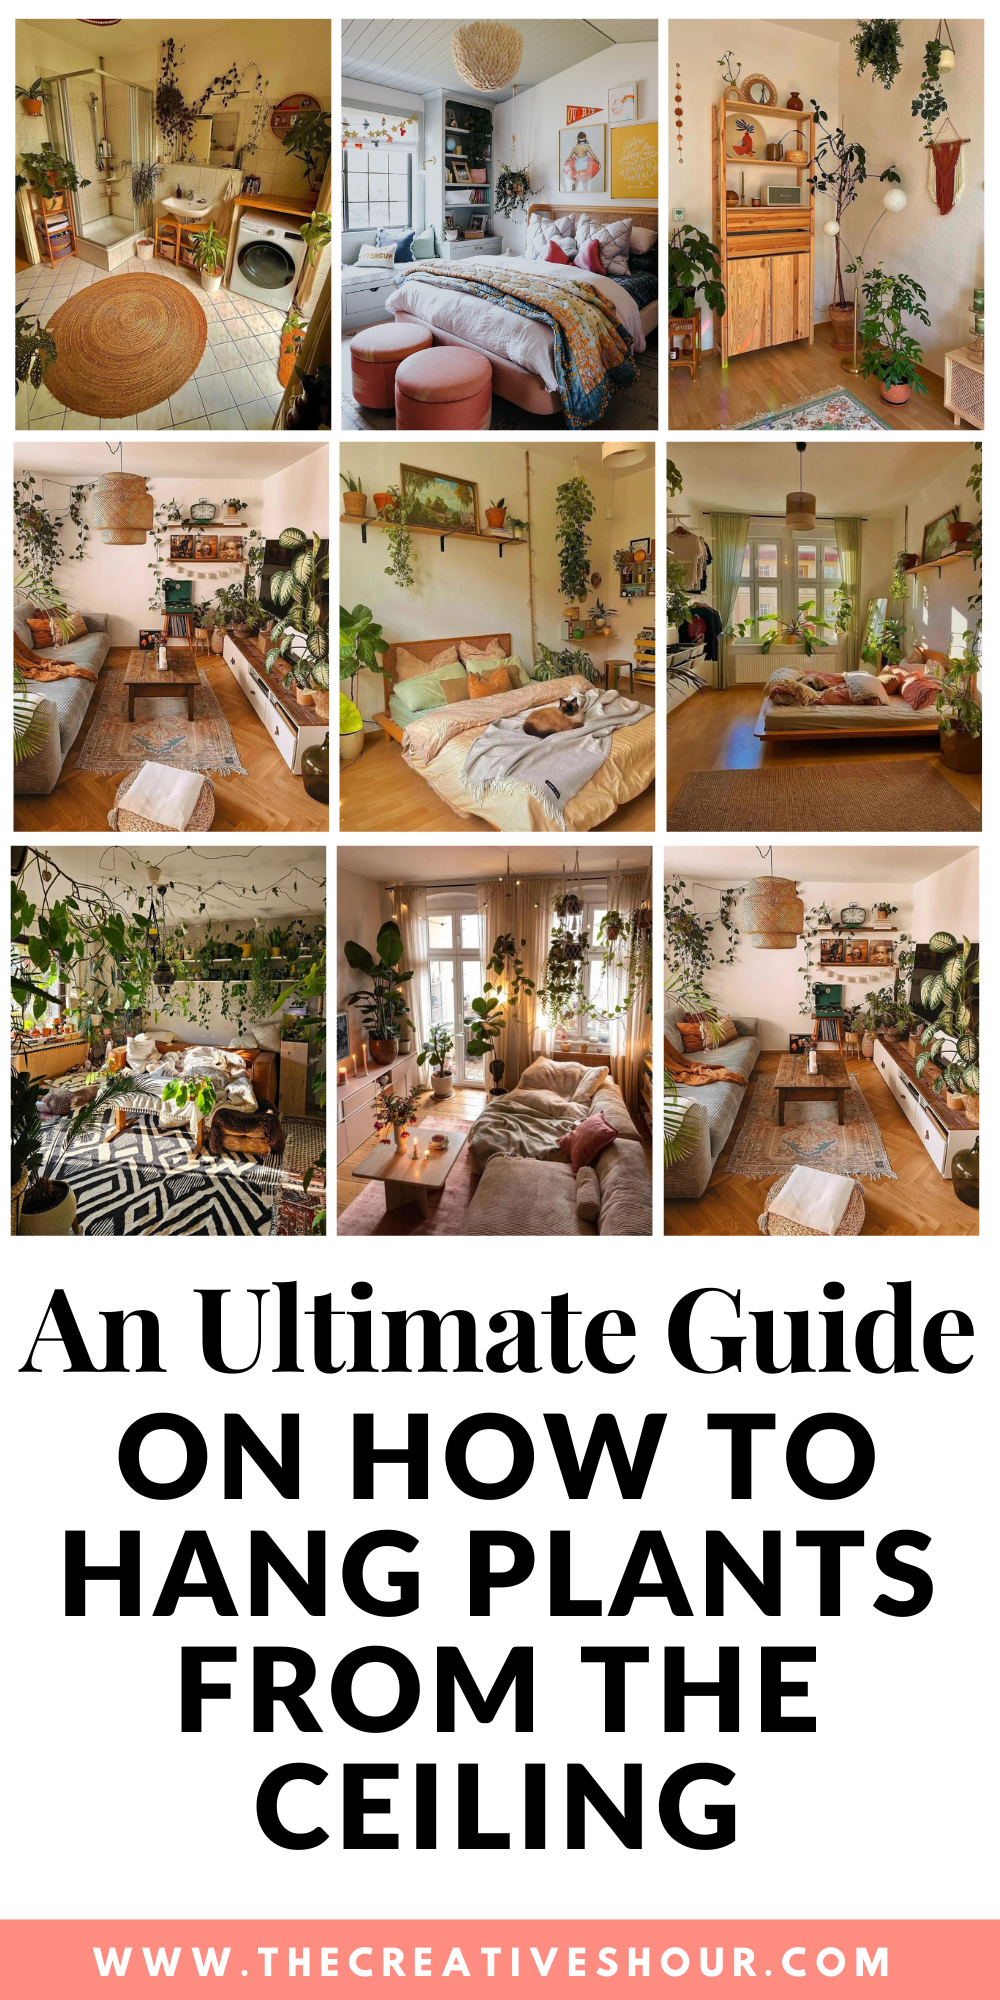
If you love these ideas, don’t forget to pin the above image to your “Home and Garden” board.
