
Ever looked at a boring wall and thought, This room needs a makeover? Peel and stick wallpaper is here to save the day. It’s easy to use, affordable, and perfect for anyone who wants a quick change without the mess of traditional wallpaper or paint.
A few months ago, I tried it myself. My plain living room wall was driving me crazy, but painting felt like too much work. Then I found peel and stick wallpaper—no glue, no mess, and no stress. In just a couple of hours, my wall went from dull to stunning, and I felt like a DIY superstar.
So why is it so popular? For one, it’s renter-friendly. You can stick it on and peel it off without damaging the wall. Plus, there are so many designs to choose from—whether you like bold patterns or simple textures, there’s something for everyone.
The best part? It’s easy. If you can peel a sticker and line it up, you can do this. Let’s get started and turn your walls into something you’ll love to look at every day!
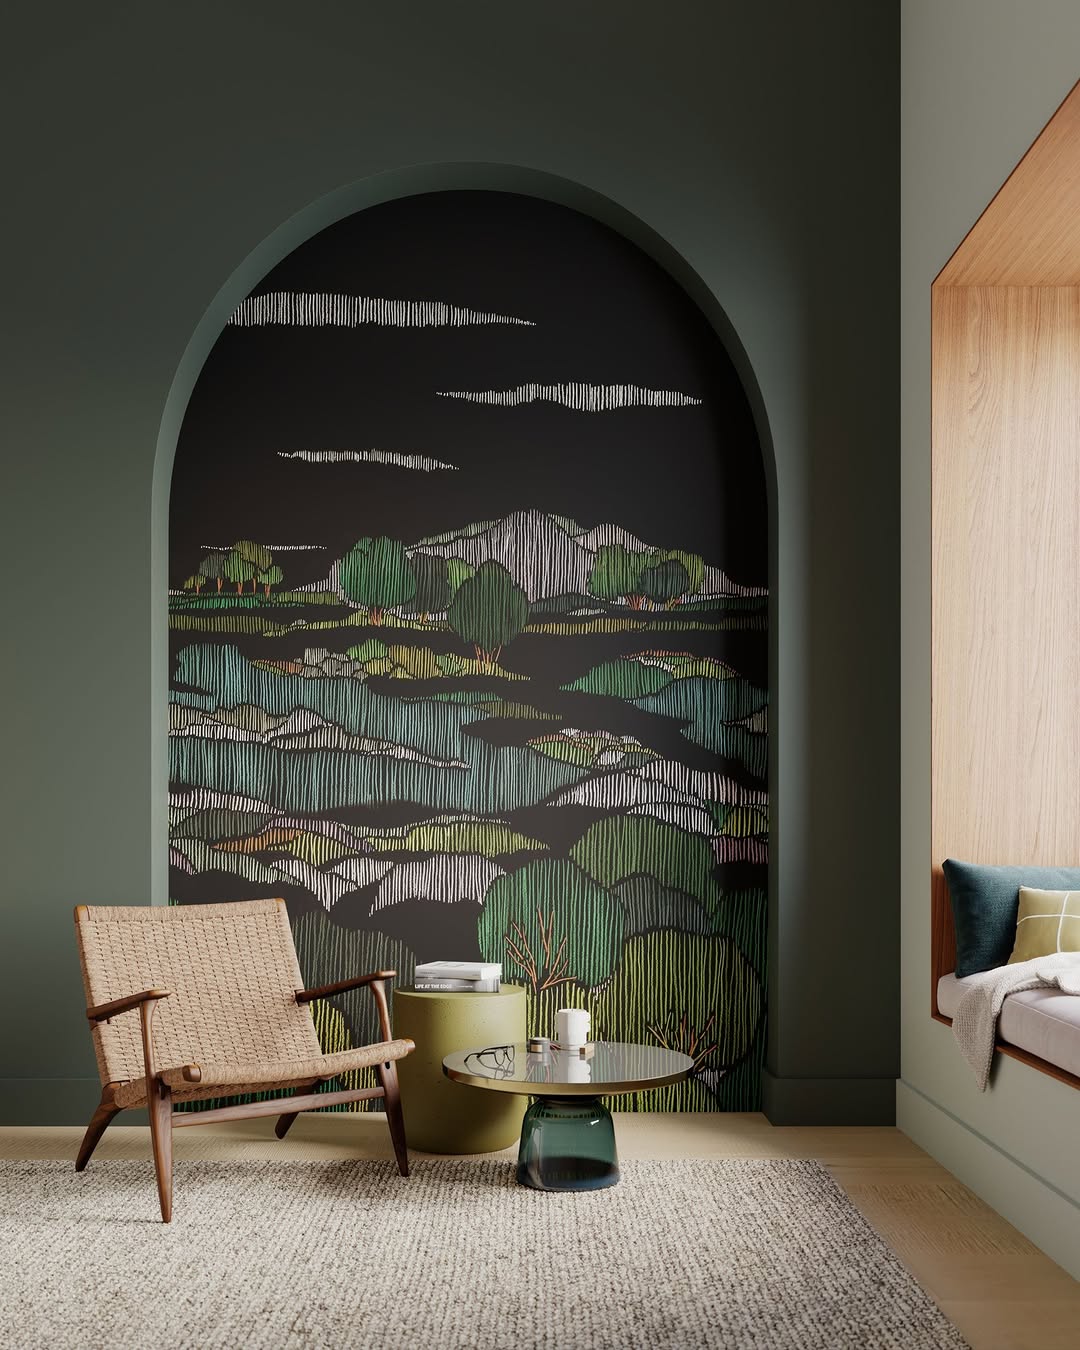
Image by casadeco_official
Related articles –
- 20 Easy and Cheap Decorating Ideas For Bedroom
- Experts Approved Innovative Styling Methods On How To Decorate Living Room Walls
- 30 Beautiful Laundry Room Wallpaper Ideas You Will Love
Materials Needed
Here’s everything you’ll need to apply peel and stick wallpaper:
- Peel and stick wallpaper: Get enough rolls to cover your wall and an extra one, just in case.
- Measuring tape: To measure your wall and the wallpaper.
- Pencil: For marking your starting point or cutting lines.
- Level or straight edge: To keep the wallpaper straight.
- Utility knife or scissors: For trimming the wallpaper to size.
- Squeegee or credit card: To smooth out bubbles.
- Step stool or ladder: If your wall is taller than you.
- Damp cloth: To clean your walls before starting.
Once you’ve got these tools, you’re all set to prep your wall!
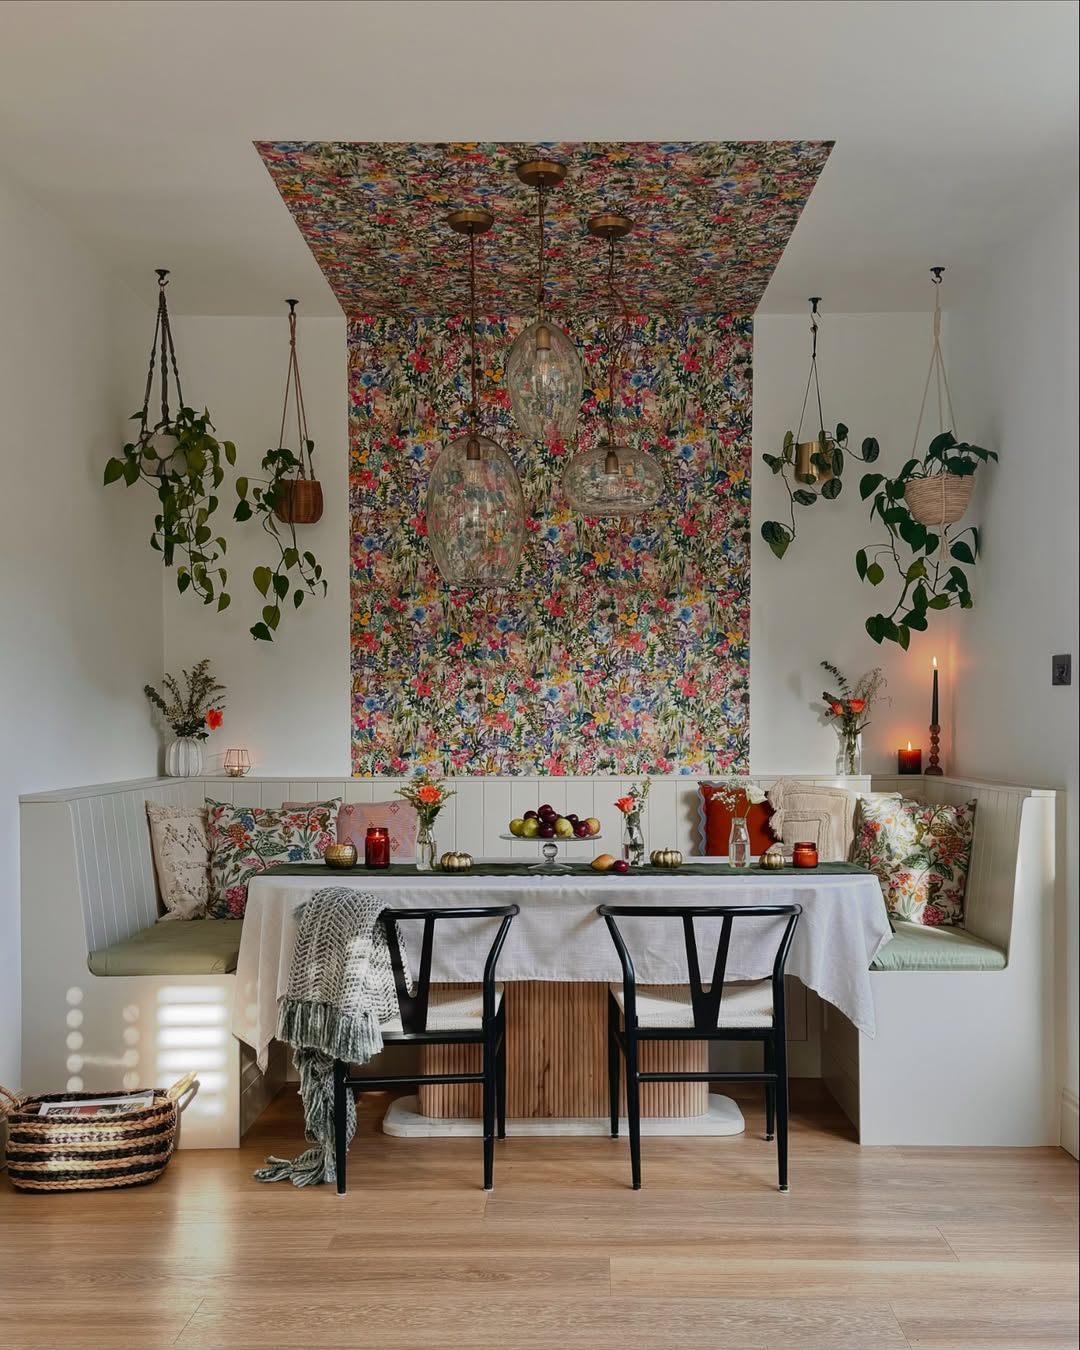
Image by the_interior_lens
Preparation
Clean the Surface
Make sure your walls are clean, smooth, and dust-free. Use a damp cloth to wipe them down. A clean surface helps the wallpaper stick better and last longer.
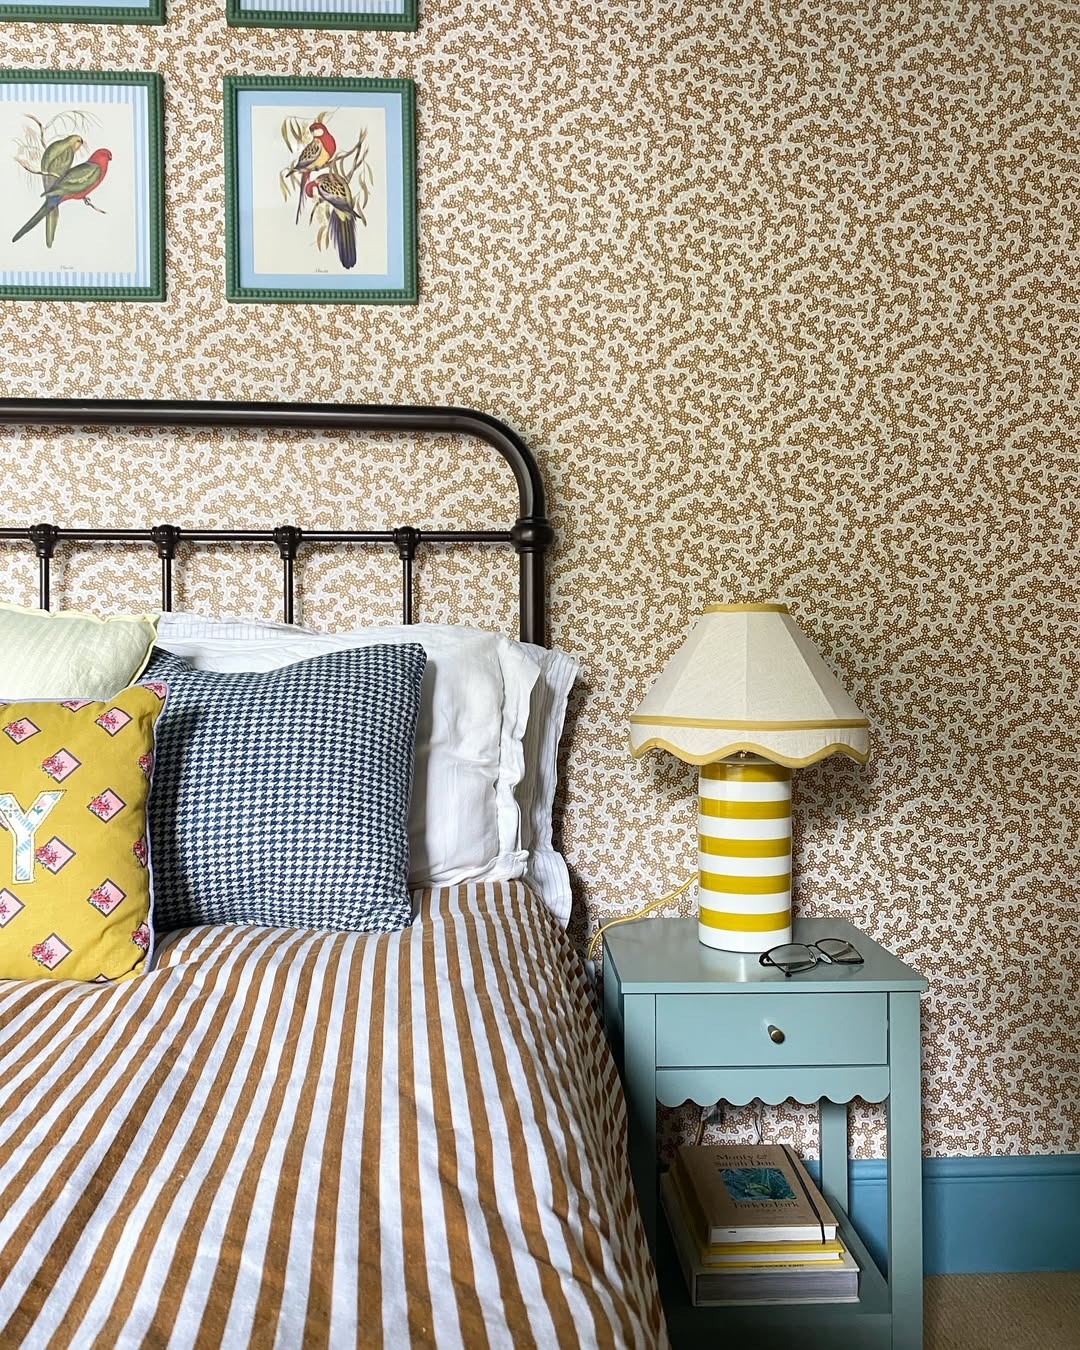
Image by endofthegrove
Measure and Plan
Use a measuring tape to check the height and width of your wall. This will help you figure out how much wallpaper you need. Mark your starting point with a pencil and draw a straight, vertical line using a level to guide your first strip.
Taking a little time to measure and plan will save you from making mistakes later. Once that’s done, you’re ready to start applying your wallpaper!
Megan Duesterhaus, Creator of The Homes I Have Made: “Before wallpapering a stairwell, first get the hang of cutting wallpaper, matching patterns, and actually applying panels on a smaller area.”
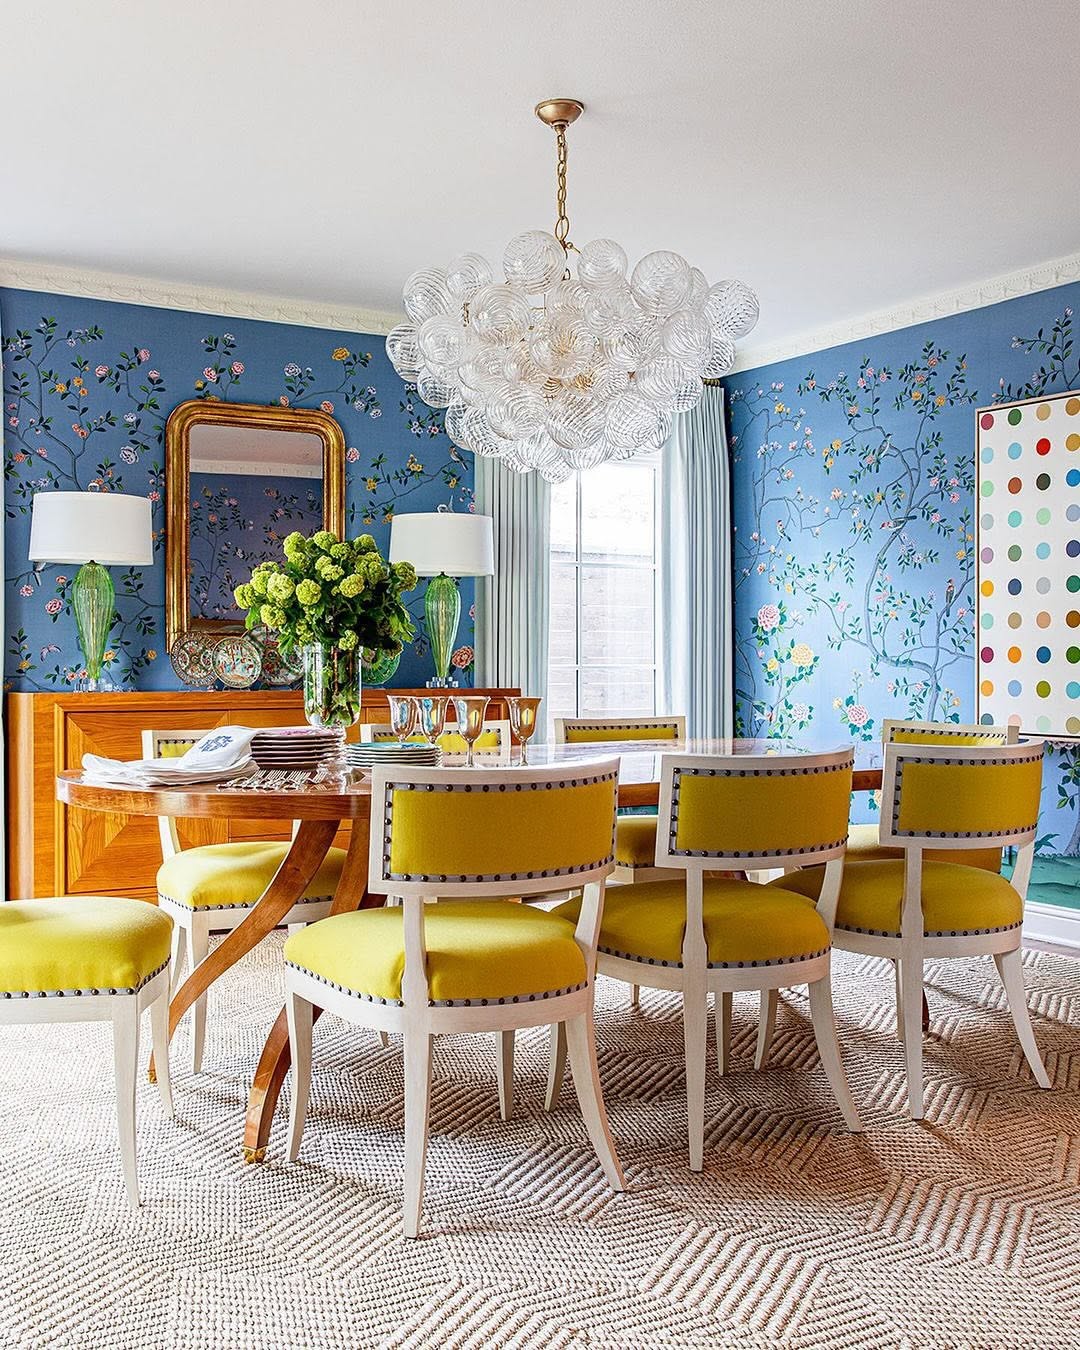
Image by julieneilldesigns
Application Process
Applying peel and stick wallpaper is like putting together a puzzle—it’s satisfying once you get the hang of it! Here’s how to do it step by step:
Step 1: Start from the Top
Peel a small section of the backing paper and align the wallpaper with your marked starting point. Take your time here; getting the first strip straight is crucial. I learned this the hard way when I rushed and ended up with a strip that leaned like the Tower of Pisa. Trust me, slow and steady wins this race!
Megan Duesterhaus, Creator of The Homes I Have Made: “When applying peel-and-stick wallpaper, start by peeling off just a few inches of the backing and secure the top of the roll to the top of your wall. This method allows for better control and alignment as you work your way down.”
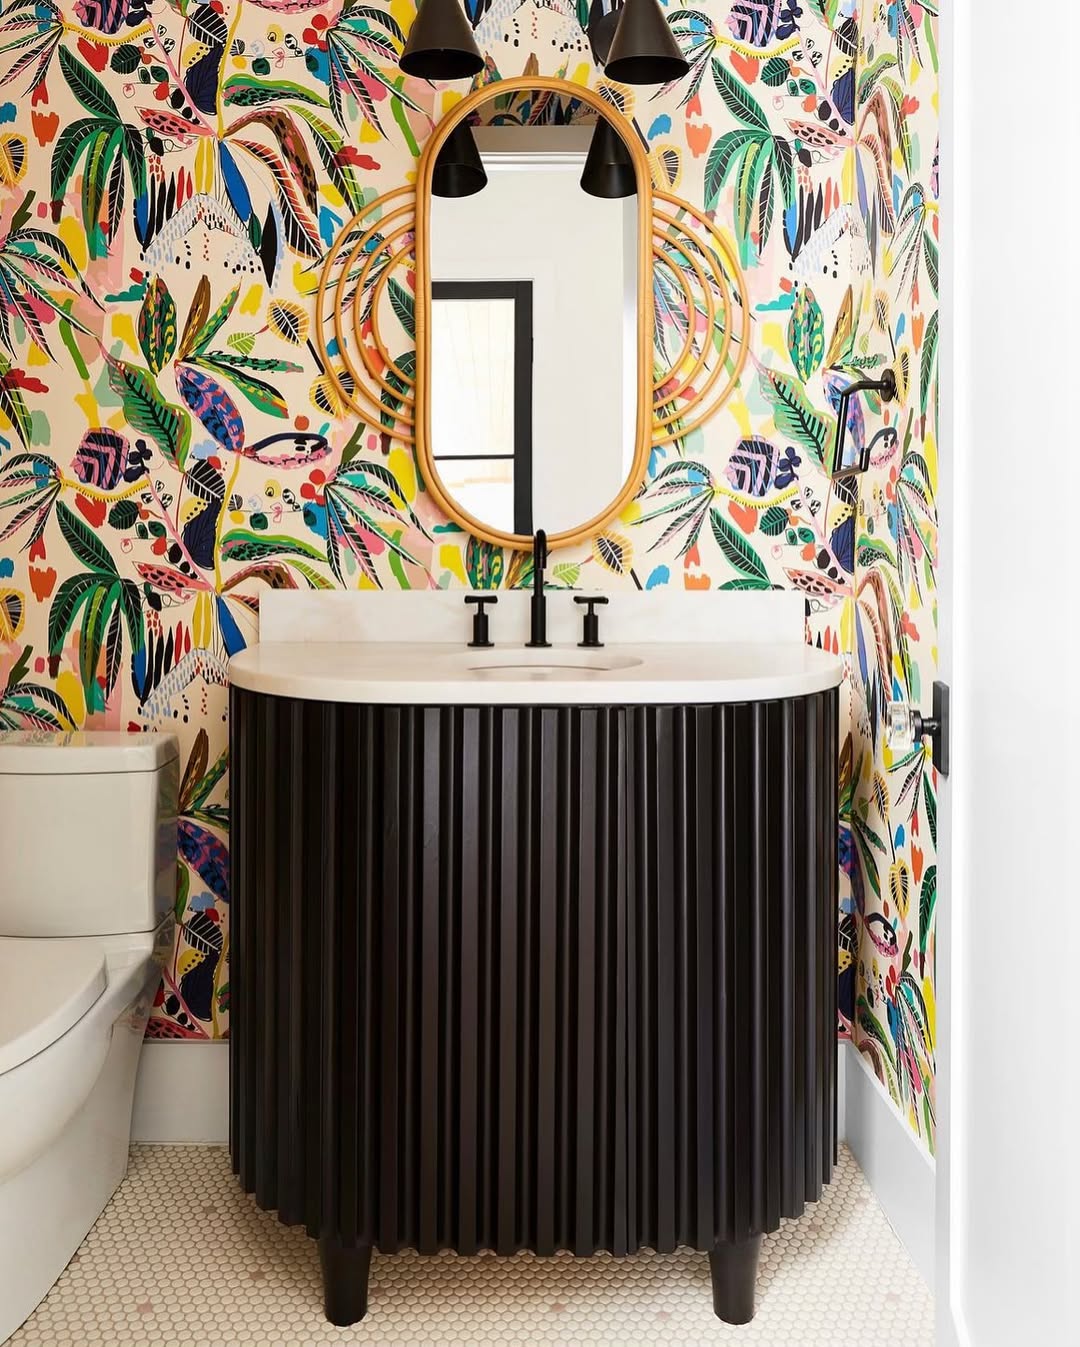
Image by kittymccall
Step 2: Smooth as You Go
As you peel more of the backing paper, smooth the wallpaper onto the wall using a squeegee or an old credit card. This step is oddly satisfying—kind of like popping bubble wrap in reverse. Press firmly to remove air bubbles and keep everything flat. If you do spot a bubble later, no panic—just peel back slightly and smooth it out.
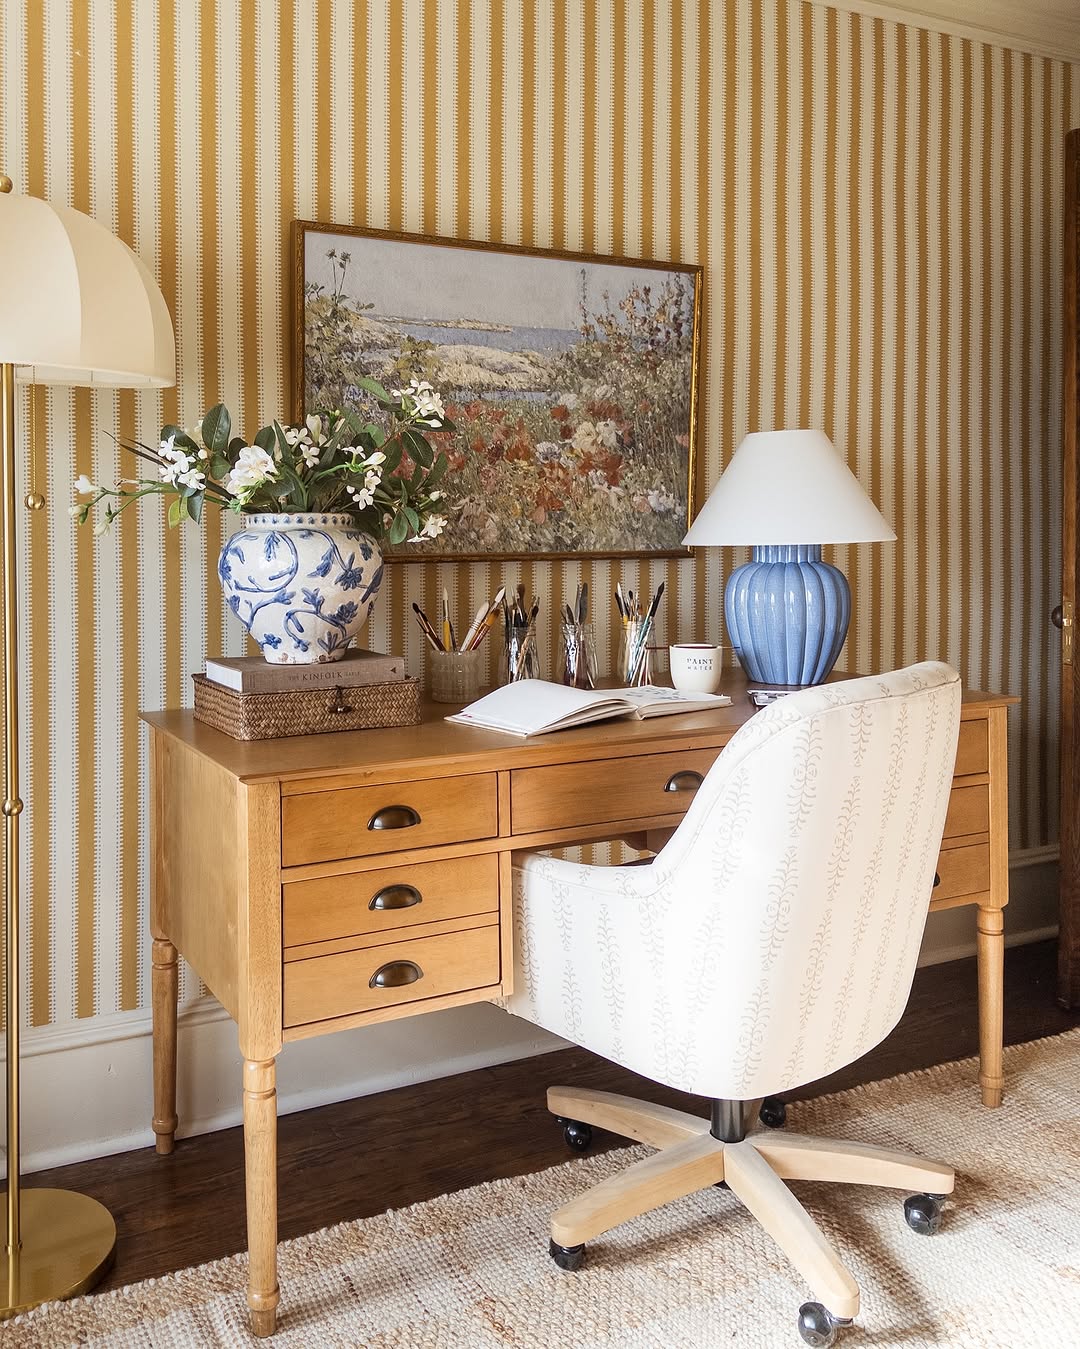
Image by styleitprettyhome
Abby Lawson, Creator of Just a Girl and Her Blog: “After working with both peel-and-stick wallpaper and the pre-pasted version, I would choose pre-pasted 10 times out of 10. The peel-and-stick paper was SO sticky that it was harder to maneuver.”
Step 3: Match Patterns
If your wallpaper has a design, like flowers or geometric shapes, you’ll want to match the pattern perfectly when you add the next strip. It’s like connecting dots, but with a lot more at stake. This part requires a bit of patience, but once it’s done, the seamless look will make all the effort worth it.
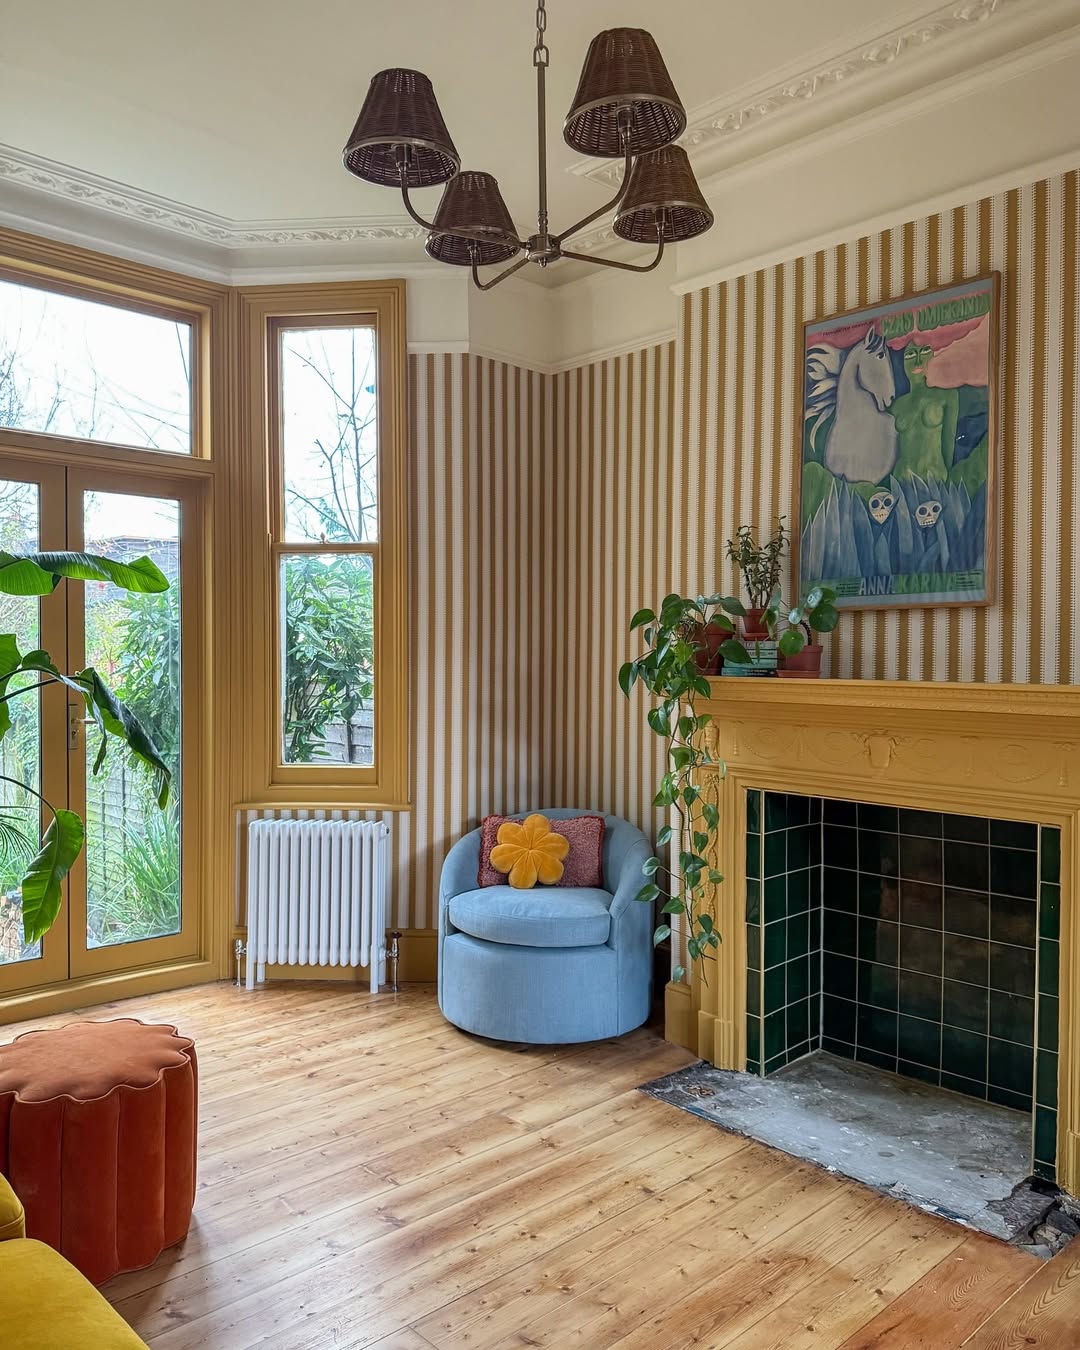
Image by thistimeincolour
Step 4: Trim Excess
Finally, use a utility knife to trim any extra wallpaper along the edges, outlets, or windows. Be gentle but precise—this is where you make your work look professional. I once rushed trimming and ended up accidentally cutting into the wallpaper. Lesson learned: measure twice, cut once!
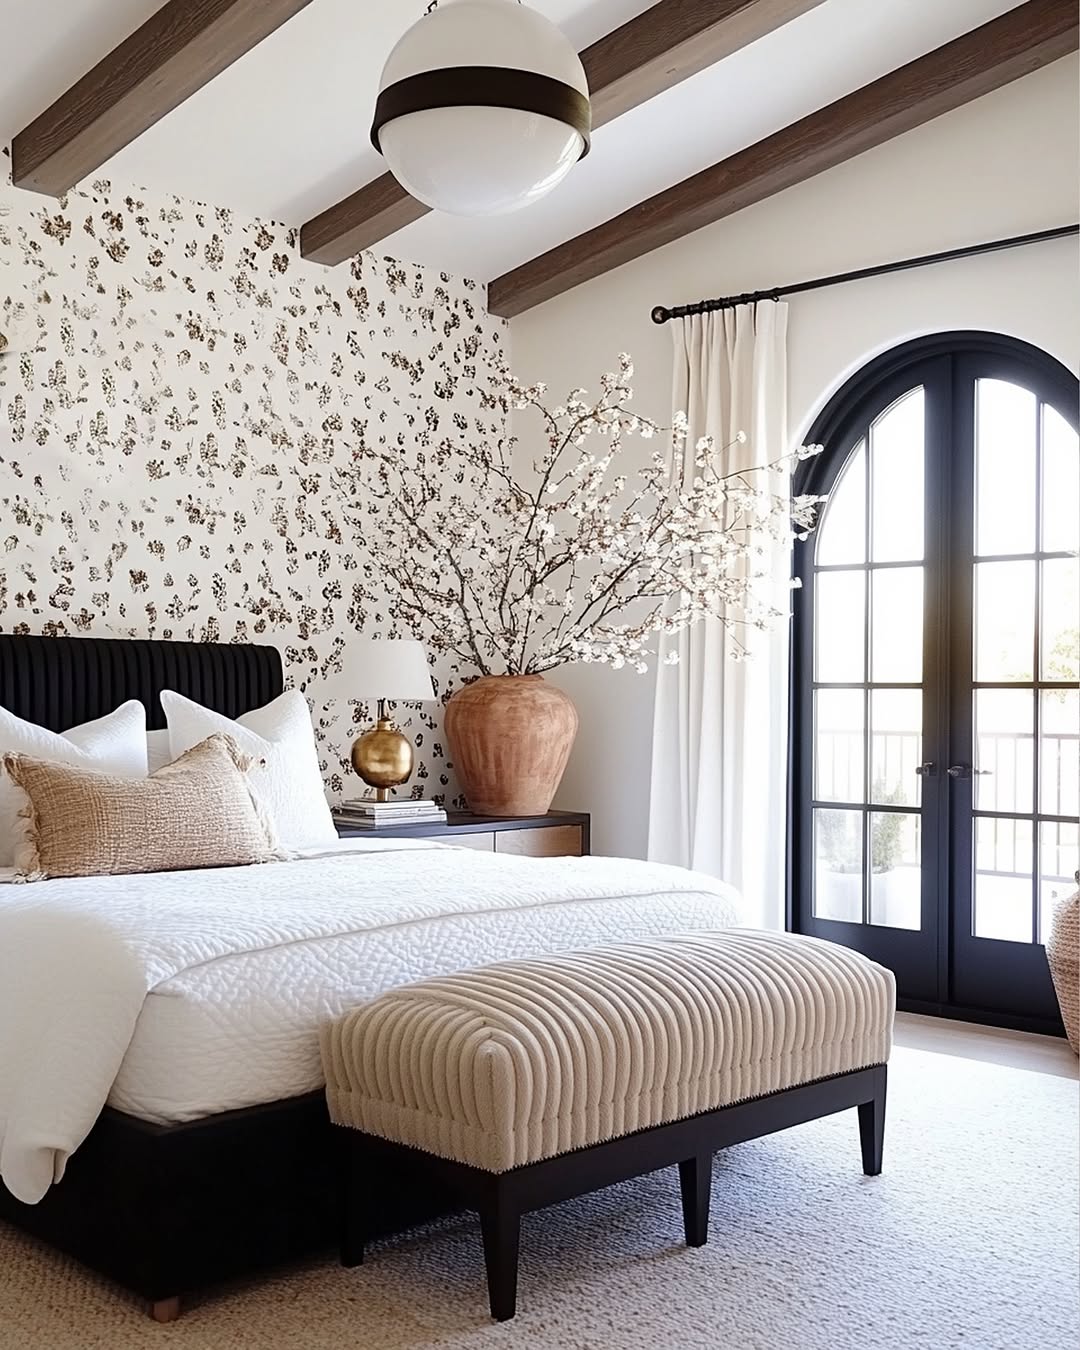
Image by lifestylem_interiordesign
Common Mistakes to Avoid
Even with the best intentions, it’s easy to make mistakes. Here are some common ones to watch out for:
- Applying to uneven or dirty walls: If the wall isn’t clean or smooth, the wallpaper won’t stick properly. Imagine putting a sticker on a dusty car—it just doesn’t work!
- Not measuring or planning beforehand: Skipping this step can lead to crooked wallpaper or mismatched patterns. Nobody wants that.
- Rushing the process: This isn’t a race. Take your time to align, smooth, and trim for a polished result.
Megan Duesterhaus, Creator of The Homes I Have Made: “When adding wallpaper to the back of a bookcase, it will be considerably easier if you can remove the shelves. Even if this means you have to deal with nuisance pegs or awkward hardware, go ahead and take everything out (if you can).”
Mistakes happen, but most are fixable. Take it slow, enjoy the process, and remember: it’s just peel and stick wallpaper. If something goes wrong, you can always peel it off and start again!
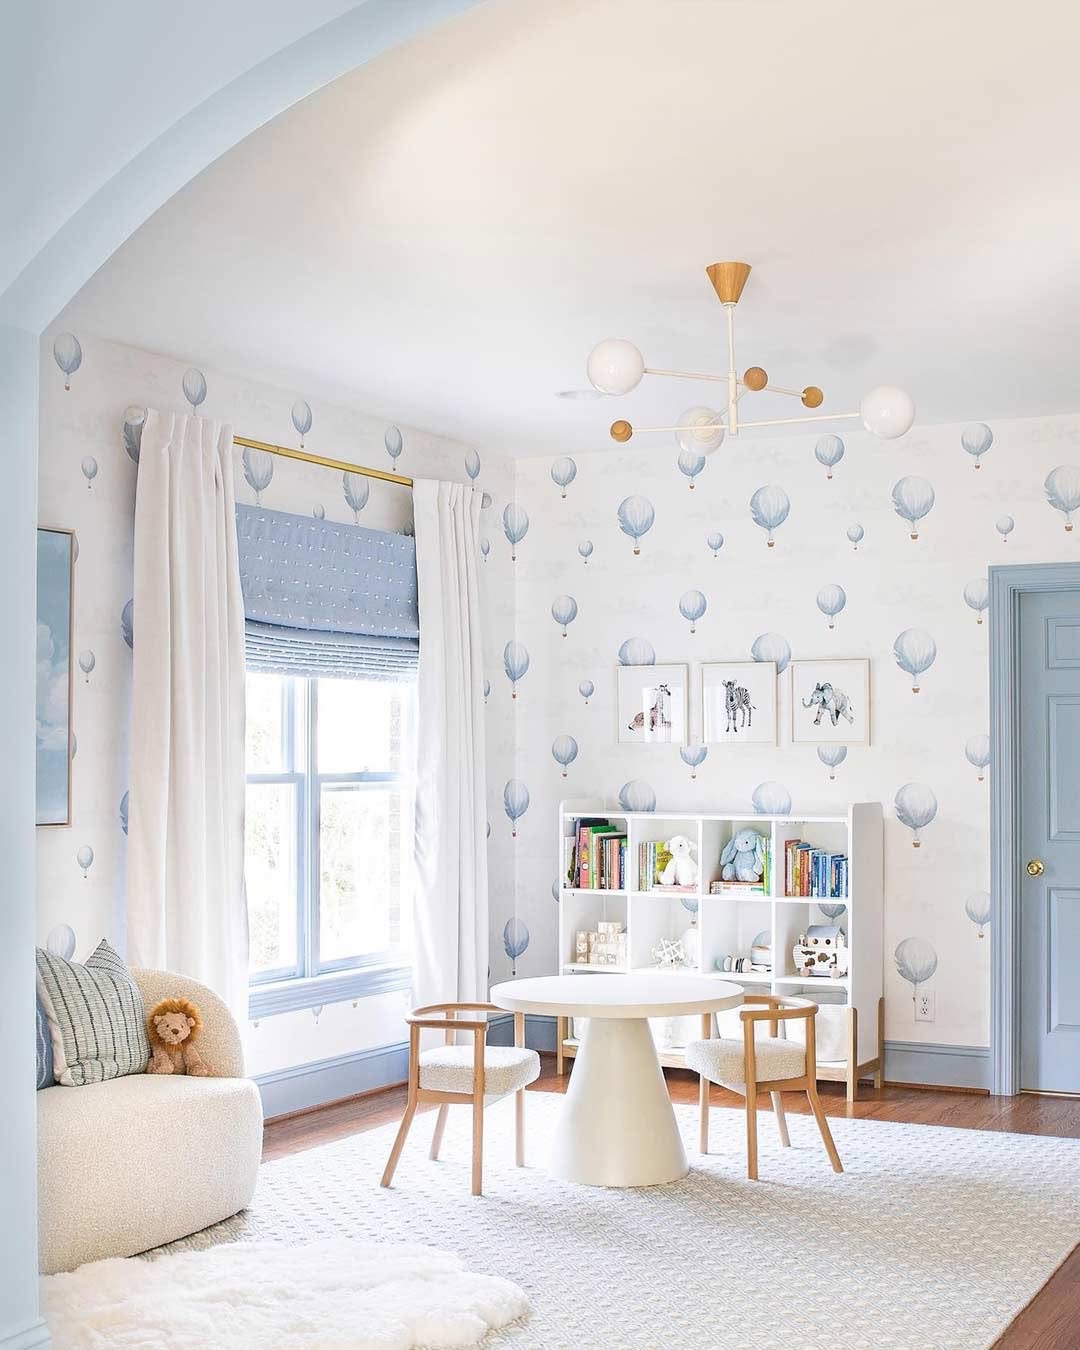
Image by livetteswallpaper
Removal and Maintenance
Removing the Wallpaper
When it’s time to change your look, removing peel and stick wallpaper is super simple. Start at a corner and peel it off slowly. No need to rush—this helps protect the wall underneath.
If the wallpaper feels stuck, use a hairdryer to gently warm it up. The heat will loosen the adhesive and make it easier to remove.
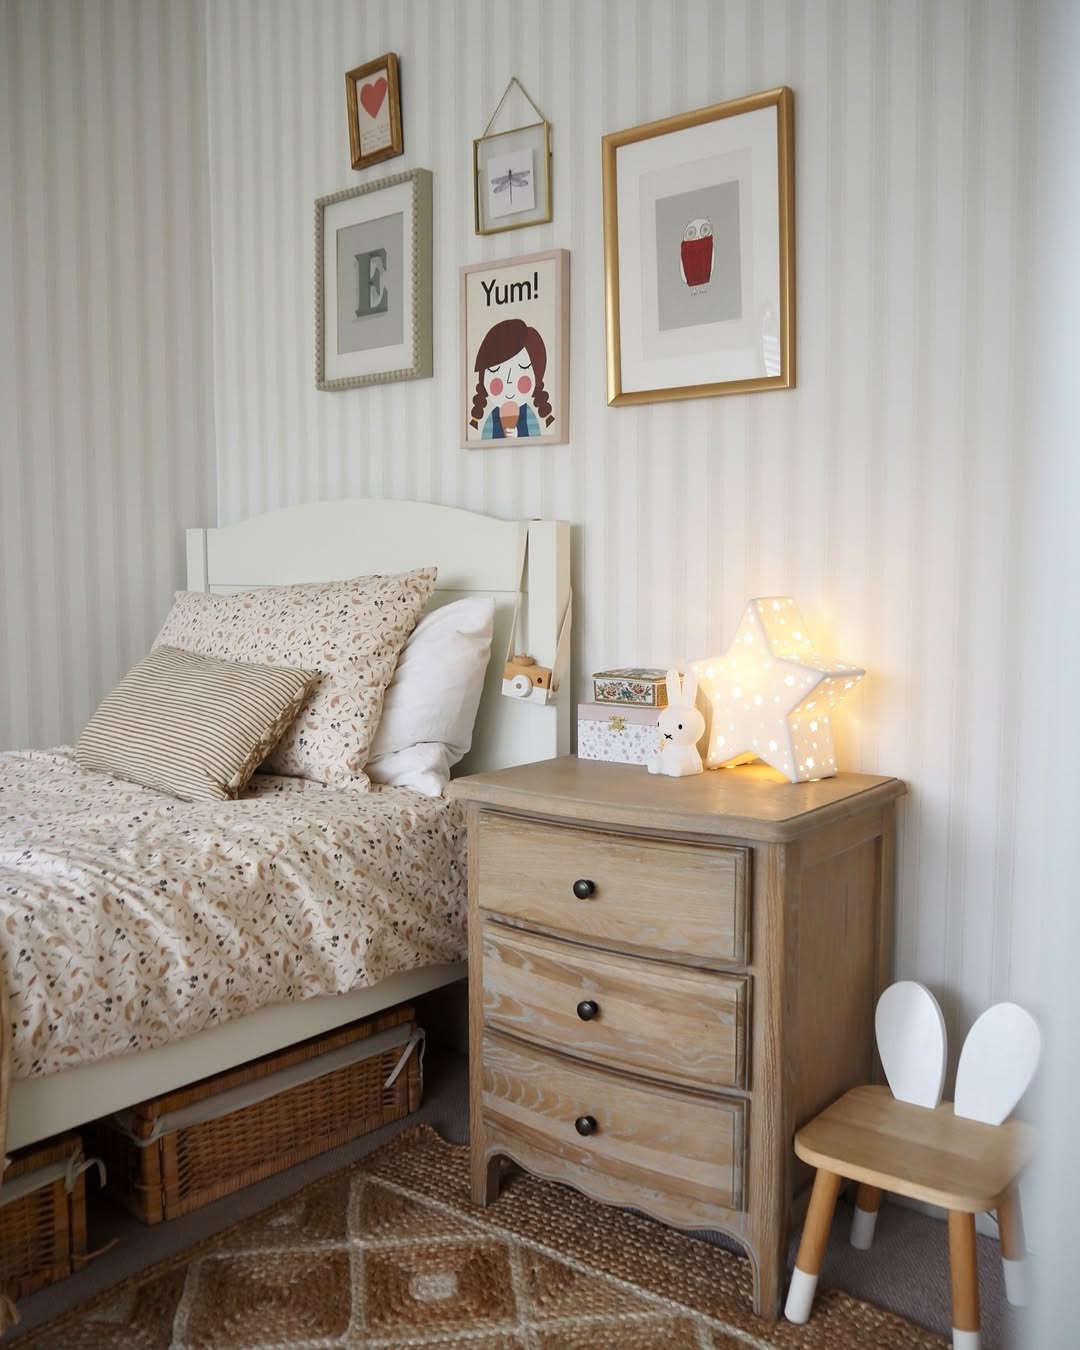
Image by ourhebehome
Cleaning the Wallpaper
To keep your wallpaper looking fresh, just wipe it down with a damp cloth. Avoid harsh cleaners—they can damage the surface. Stick to plain water or mild soap for the best results.
If you love these ideas, don’t forget to pin the above image to your “Home and Garden” ideas.
