

Dreaming of a home that sparkles from top to bottom but unsure where to start? You’re not alone. Many of us aspire to deep clean our spaces, but the challenge lies in figuring out where to begin and how to keep the energy going. Should you have a plan, or just dive in? And how can you pull off such a big project without burning out?
In our ultimate guide to deep cleaning entire house, we’ll take you through all the must-know tips to tackle every nook and cranny with ease. Whether you’re gearing up for a seasonal refresh or just need a thorough reset, this guide has everything you need to make your home sparkle. Say goodbye to dust, grime, and clutter, and welcome a space that feels brand new. Ready to dive in? Let’s get started!

Image by studioverouk
Which Room Should Be Cleaned First And Why?
When deep house cleaning, it’s best to start with the room that gets the most traffic or causes you the most stress. Typically, the kitchen is a good place to begin, as it’s often the busiest room and requires regular deep cleaning to maintain hygiene. Tackling the kitchen first also gives you a sense of accomplishment, which can help motivate you for the rest of the house.
Here’s a suggested order for deep cleaning your home:
- Kitchen: Since it’s used daily and tends to accumulate hidden dirt, grease, and clutter, start here. Cleaning appliances, scrubbing surfaces, and organizing cabinets can create an immediate sense of cleanliness.
- Bathrooms: The bathroom is another high-traffic area that needs regular attention. Deep clean sinks, toilets, tubs, and tiles to maintain a fresh, sanitized space.
- Bedrooms: Once essential spaces like the kitchen and bathrooms are done, move to the bedrooms. Focus on dusting, vacuuming, and organizing closets and drawers for a refreshed environment.
- Living Room/Family Room: These communal areas can collect dust, pet hair, and clutter. Dust shelves, vacuum upholstery, and deep clean floors to make it feel inviting again.
- Entryway and Hallways: These areas often get neglected but are high-traffic zones. Clean any scuff marks, dust light fixtures, and organize shoes or coats.
- Bonus Rooms (Offices, Guest Rooms, Playrooms): If you have additional rooms, save these for last, as they generally don’t see as much daily use.
The key is to start with the most used spaces, which tend to take the longest, and finish with the rooms that are less frequently visited. This method helps keep your cleaning momentum going and ensures the high-traffic areas get the attention they need.
Joanna Gaines, co-host of Fixer Upper, recommends focusing on one room at a time. She emphasizes the importance of decluttering first, as it helps you to “have clear surfaces and a clear floor, which makes it easier to deep clean afterward”
How To Deep Clean The Kitchen
Spring cleaning your kitchen can feel like a big job, but I’ve found it’s much easier when you tackle it step by step. Here’s how I like to get my kitchen spotless and refreshed:
Emily Henderson, a stylist and author, suggests tackling deep cleaning tasks by breaking them into smaller, manageable chunks. “Start with one area—like cleaning windows or baseboards—and focus on completing that before moving on to the next task,” she advises on her blog
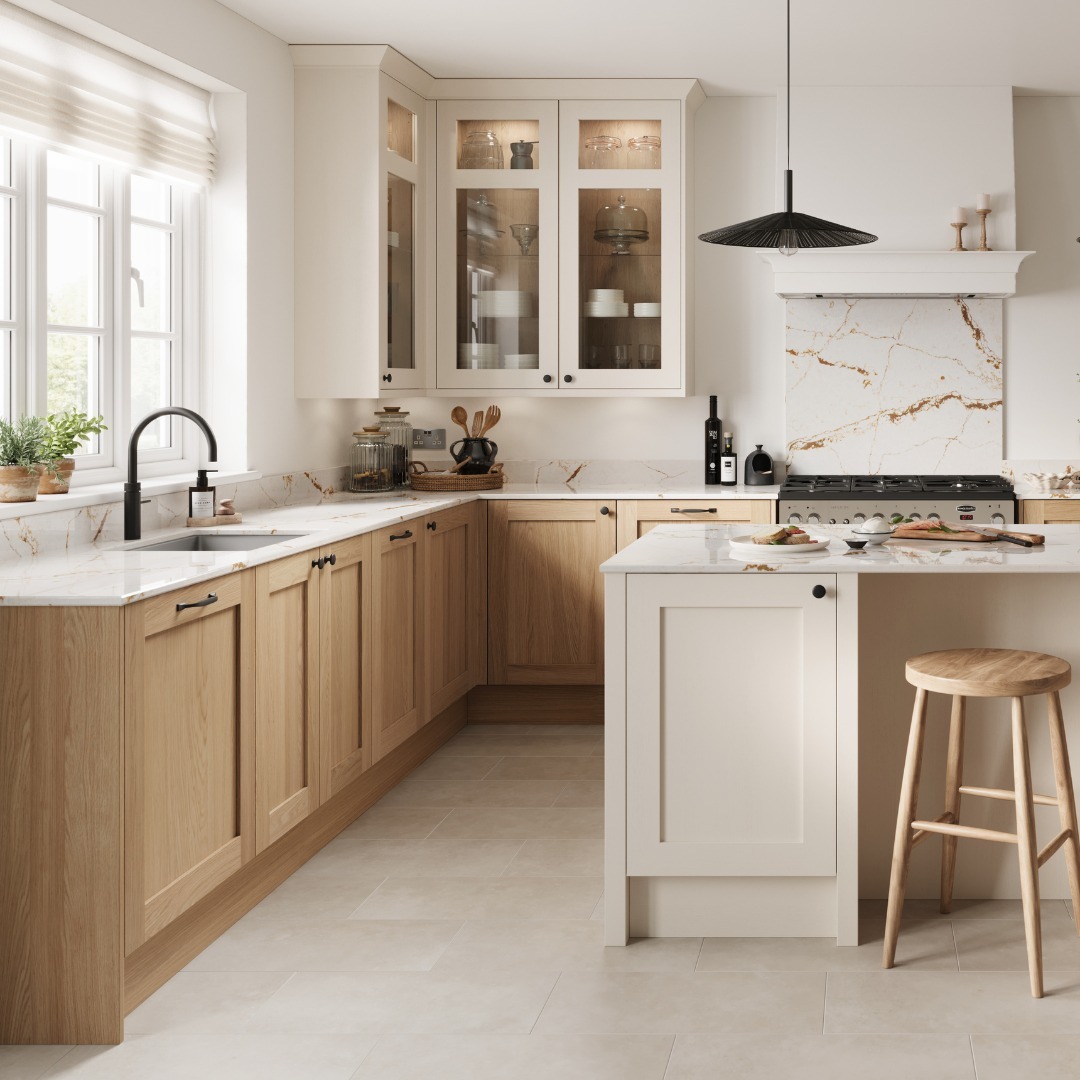 Image by howdensjoinery
1. Start by Clearing the Clutter
The first thing I always do is declutter countertops, cabinets, and drawers. Tossing out expired food, unused spices, or any items I no longer need immediately makes the space feel more manageable. Wiping down shelves and surfaces as I organize helps create a tidy, functional kitchen. Clearing the clutter reduces the buildup of dust and bacteria and also makes cleaning more efficient.
2. Time to Clean the Appliances
- Fridge: I empty the fridge, throw out expired or forgotten items, and wash the shelves and drawers with warm, soapy water. A baking soda and water mixture works well to neutralize odors inside the fridge. This regular cleaning helps keep food fresher and reduces energy consumption, as a clean fridge works more efficiently.
- Oven: For the oven, I prefer to use baking soda and water to create a paste, letting it sit for a few hours to soften baked-on grime. For quicker results, a store-bought cleaner does the job. Regularly maintaining the oven not only makes future cleaning easier but also prevents smoke or unpleasant smells when baking.
- Microwave: I heat a bowl of water with lemon slices for a few minutes. The steam loosens up any food splatters, making them easy to wipe down. Lemon adds a fresh, natural scent, and the microwave stays clean and bacteria-free.
- Dishwasher: Running an empty cycle with vinegar freshens up the dishwasher, and I also clean the filter and wipe down the seals to prevent mold buildup. A clean dishwasher works more efficiently and ensures your dishes come out spotless every time.
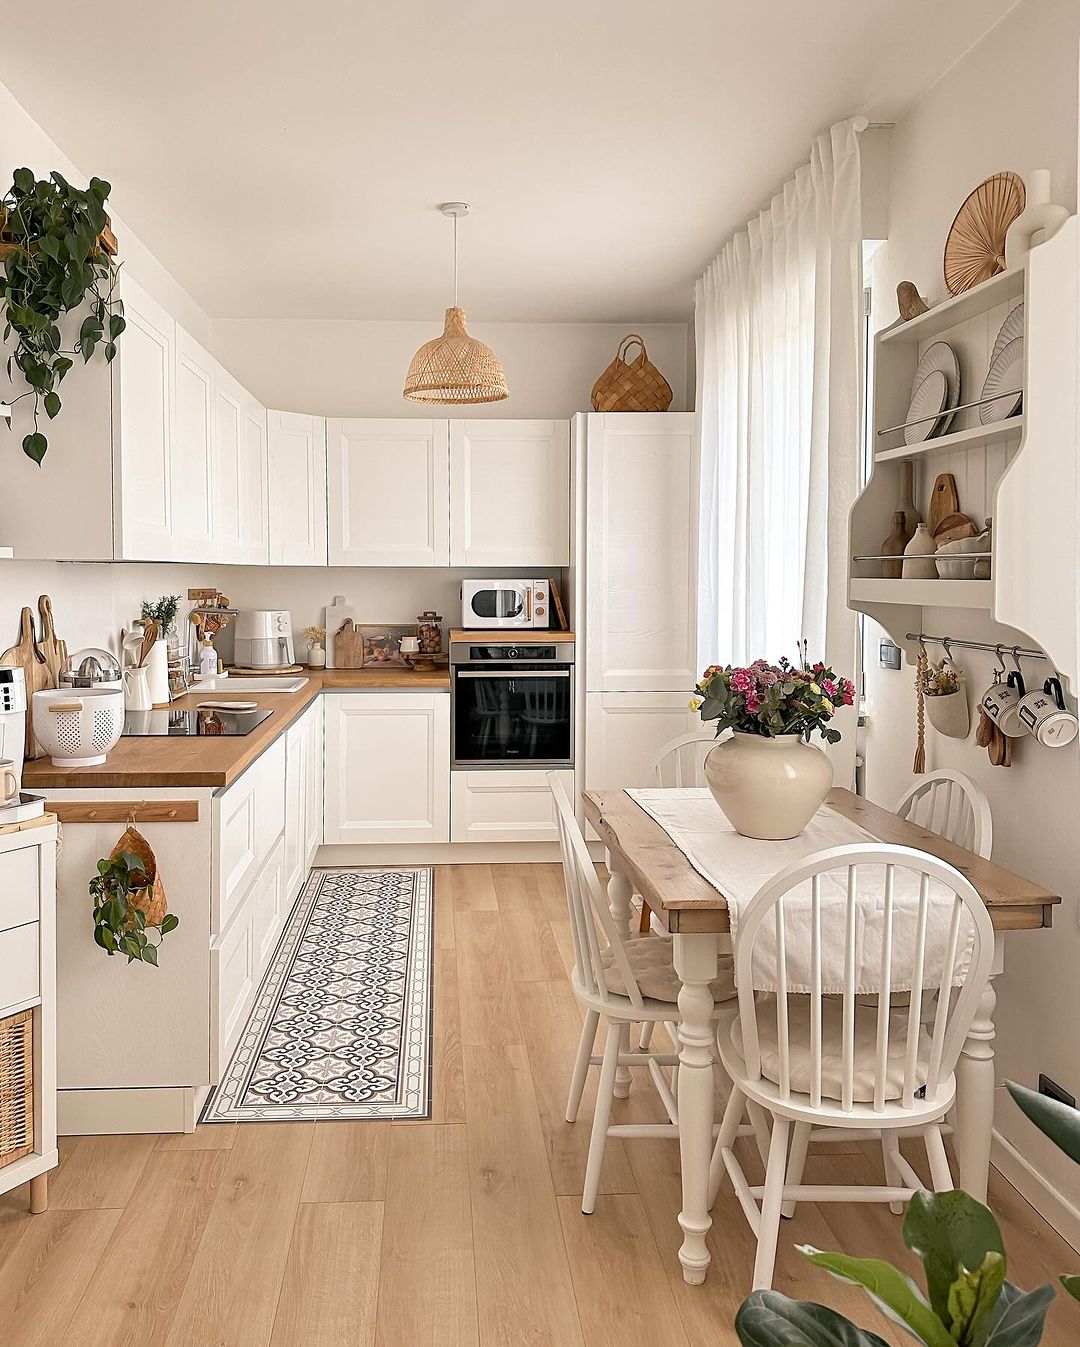 Image by deborah_sweethome
Read – 32 Beautiful Low Ceiling Small Kitchen Lighting Ideas
3. Wipe Down the Surfaces
- Countertops: After handling the appliances, I clear off the countertops and wipe them down with a cleaner suitable for their material. Disinfecting the countertops, especially in high-use areas, keeps bacteria at bay. I always remember to clean the backsplash as well since it can accumulate grease and splashes from cooking.
- Cabinets: Cabinet doors and handles tend to gather fingerprints and grease, so I give them a good scrub with soapy water. Regular cleaning prevents buildup and extends the life of cabinet finishes, especially in kitchens with higher humidity levels.
- Sink: The sink is a kitchen hotspot for germs, so I scrub it with a baking soda and water paste, which helps remove stains. Freshening the drain with a mixture of baking soda and vinegar, followed by hot water, prevents clogs and keeps everything smelling fresh.
4. Don’t Forget the Stove and Range Hood
- Stovetop: I remove the burner grates and soak them in hot, soapy water while I scrub the stovetop. Using a degreaser or a baking soda paste helps tackle tough, stuck-on food. Keeping the stovetop clean improves cooking efficiency and prevents odors from lingering.
- Range Hood: Grease and dust can build up in the range hood, reducing its effectiveness, so I take off the filters and soak them, scrubbing thoroughly before putting them back. Wiping down the outside of the hood keeps it looking clean and ensures better air quality in the kitchen.
Justina Blakeney, founder of The Jungalow, shares that creating a routine is essential for maintaining a clean home. “Establish a deep-cleaning schedule, focusing on different areas of the home each week to avoid feeling overwhelmed”
5. Finish with the Floors
Sweeping or vacuuming the floors is a must before mopping to get rid of any crumbs or dirt. Then, I mop head the floor with warm water and a floor-safe cleaner, paying close attention to corners and spaces under appliances where grime often collects. A clean floor not only looks good but also reduces the risk of bacteria and allergens spreading around the house.
6. Clean Small Appliances and Fixtures
Small appliances like the toaster and coffee maker often get overlooked, but they can collect crumbs, grease, and grime. I wipe them down with a damp cloth, empty the toaster’s crumb tray, and wash any removable parts. I also take the time to wipe down light switches, handles, and faucets, which are often touched and can harbor germs. Keeping these areas clean reduces the risk of spreading bacteria throughout the kitchen.
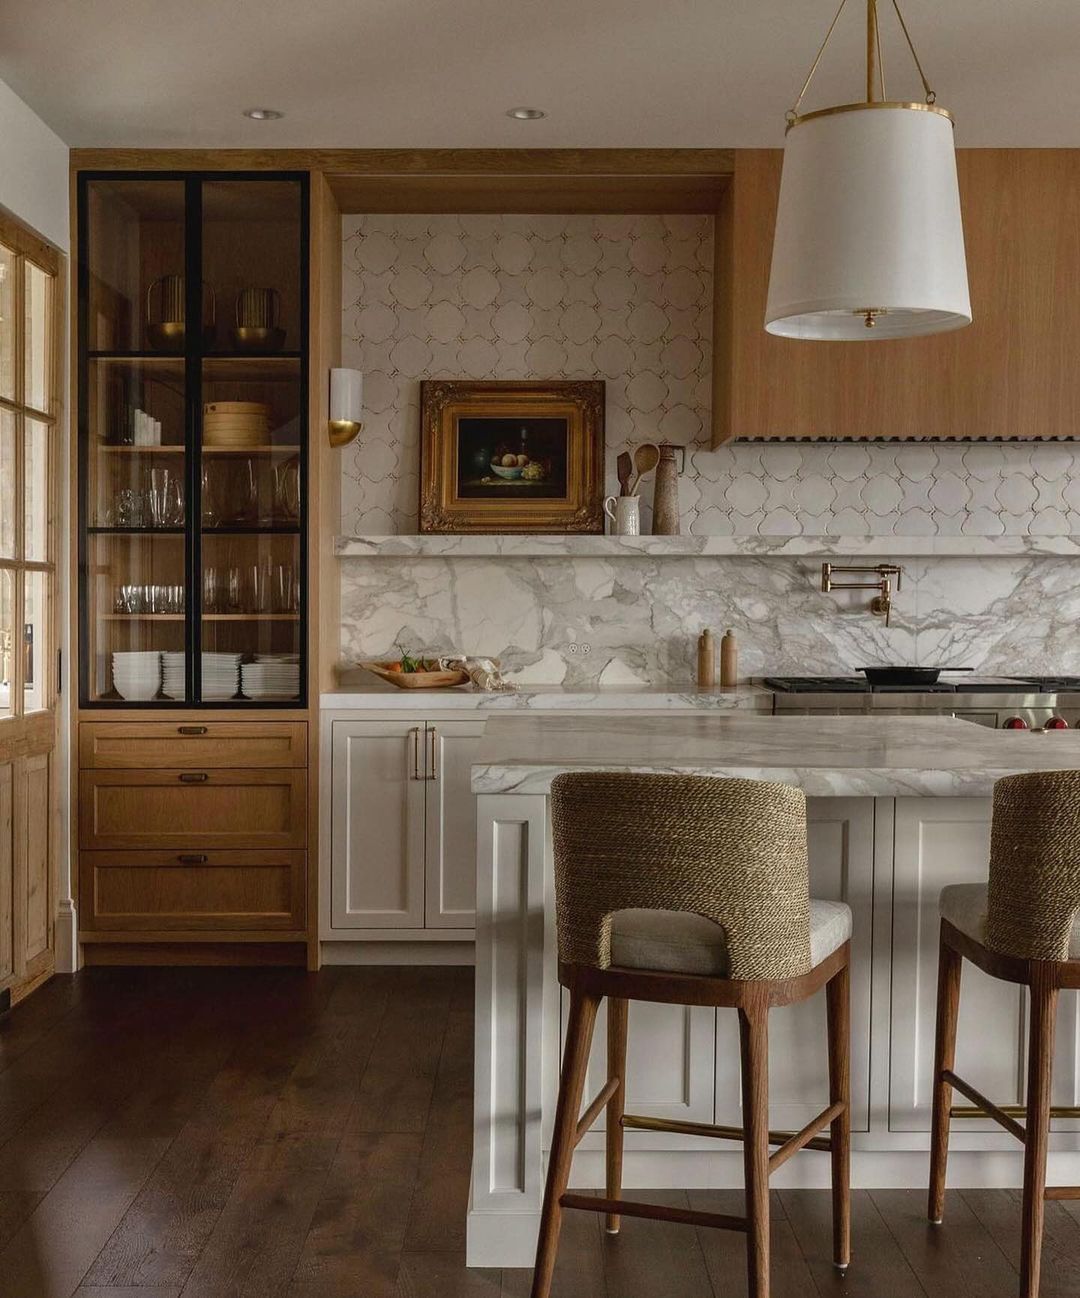 Image by kelseyleighdesignco
7. Take Out the Trash
After everything is cleaned, I take out the trash and give the trash can itself a good scrub. A sprinkle of baking soda at the bottom helps absorb odors and keeps things smelling fresh longer. Keeping the trash can clean prevents it from becoming a breeding ground for bacteria and pests.
8. Finishing Touches
To wrap up, I wipe down the windows and dust any light fixtures. Lastly, I organize my cleaning supplies, replacing any worn-out sponges or towels. It’s a small task, but it ensures that the tools I use to clean stay in good condition and don’t contribute to spreading dirt or germs in the future.
By taking my time and focusing on one area at a time, I’m able to give my kitchen a thorough deep clean without feeling overwhelmed. The result is a fresh, sparkling space that feels inviting, functional, and healthy! A well-maintained kitchen not only looks better but also creates a safer, more enjoyable environment for cooking and gathering.
Shea McGee, founder of Studio McGee, recommends starting in areas that accumulate the most dirt, like the kitchen. “Deep cleaning the oven, refrigerator, and countertops regularly ensures a fresh and functional kitchen space”
How to Deep Clean Your Bathroom
1. Begin with Dusting and Ventilation
One of the first things I do is ensure proper ventilation by opening windows or turning on the exhaust fan. This not only helps with air circulation but also prevents cleaning fumes from building up. While doing that, I take a microfiber cloth or duster and dust off high surfaces like shelves, light fixtures, vents, and any decorative items. Getting rid of dust first keeps it from falling onto freshly cleaned surfaces later.
2. Get the Shower and Tub Sparkling
Instead of jumping right into scrubbing, I spray down the shower walls, doors, shower curtains, and tub with a heavy-duty cleaner, allowing it to sit while I work on other areas. Letting the cleaner soak in softens up soap scum and grime, making scrubbing much easier later. After about 10-15 minutes, I scrub the surfaces with a non-abrasive brush or sponge, paying extra attention to grout lines and corners. If there’s tough mildew, I mix baking soda and vinegar, which works wonders without harsh chemicals. The showerhead also gets a deep clean by either soaking it in vinegar or scrubbing with an old toothbrush.
Amber Lewis, founder of Amber Interiors, highlights the power of natural cleaning products. “Using simple ingredients like baking soda and vinegar can effectively clean surfaces without the use of harsh chemicals”
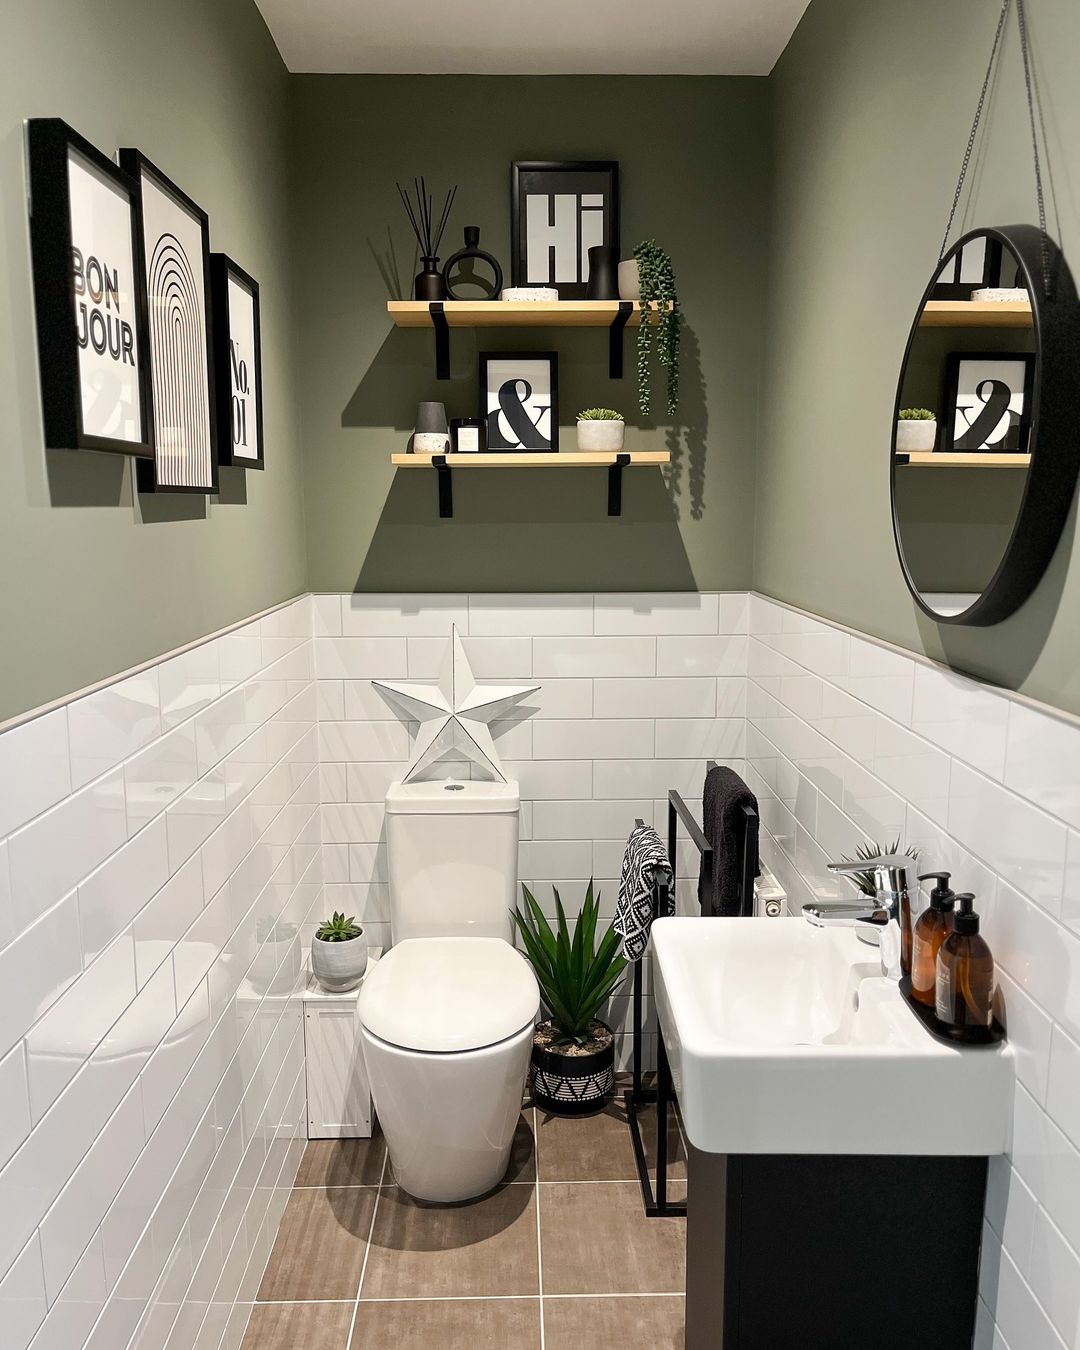 image by no1_on_the_grove
3. Turn Your Focus to the Toilet
I pour toilet cleaner into the bowl and let it sit while I clean the rest of the toilet. Using disinfectant, I wipe down the tank, lid, seat, and the area around the base. Those often-overlooked spots near the hinges and along the baseboard get a lot of grime, so I pay extra attention there. After everything else is clean, I finish off by scrubbing the bowl with a toilet brush, giving special attention to the under-rim, then flushing to finish.
4. Sink and Faucet Get Their Shine Back
While the bathroom cleaner does its magic on other surfaces, I move on to the sink. I spray the faucet, sink, and countertop with a bathroom-safe cleaner, focusing on any toothpaste buildup or soap scum. For stubborn grime, I use a little baking soda on a damp sponge to scrub it away. Once everything is scrubbed, I polish the faucet and any other metal surfaces with a soft cloth to give them that gleaming finish. Finally, I make sure to clean the drain area thoroughly, where residue tends to collect.
Read – 21 Serene And Luxurious Bathtub In Front Of Window Ideas
5. Revive Your Mirrors and Glass
Bathroom mirrors easily collect water spots and fingerprints, so I spray them with glass cleaner and wipe them down with a lint-free cloth. I’ve learned that using a microfiber cloth helps eliminate streaks and leaves the mirror looking crystal clear. If you have glass shower doors, a similar approach keeps them spotless—using a squeegee can be a handy tool for maintaining glass surfaces without leaving watermarks.
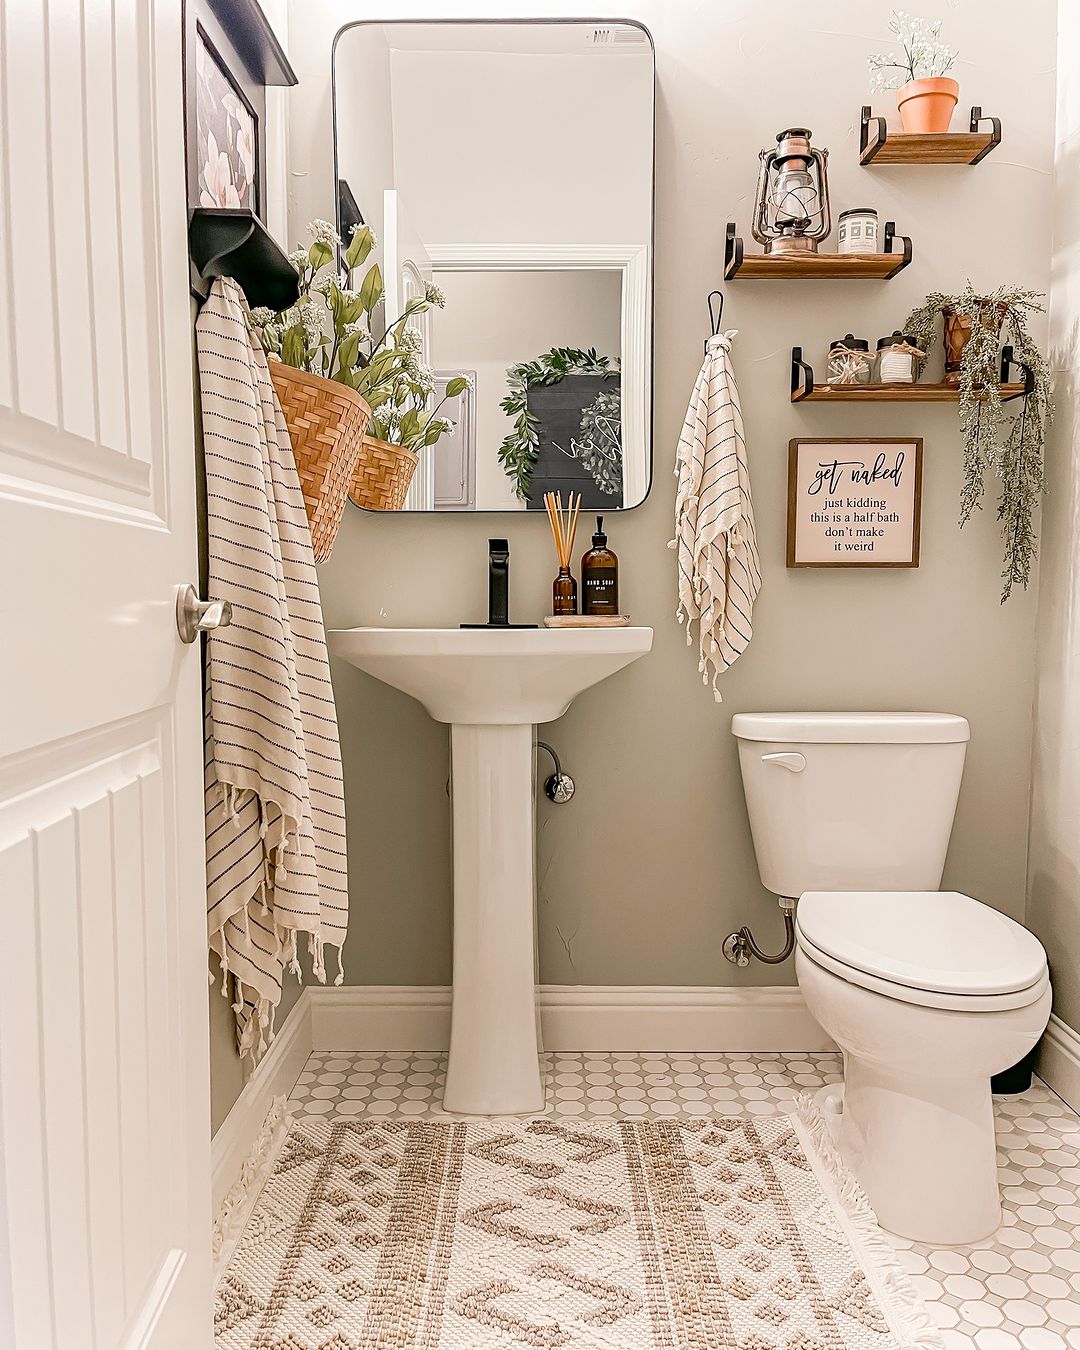 Image by boutiquerugs
6. Floor and Grout Take Center Stage
Once the dust and dirt are off the higher surfaces, it’s time to tackle the floors. I sweep or vacuum first to remove hair and dust (which seems to multiply in the bathroom). For tile floors, I mix baking soda and water into a paste to scrub the grout lines with an old toothbrush. Afterward, I mop the floor using a bathroom-safe cleaner. Paying attention to the grout not only makes the floor look new but also brightens the entire space. If you have rugs, tossing them into the wash while working on the floors is a great way to freshen them up too.
7. Polish Fixtures and Taps
I love finishing by polishing up any metal fixtures—faucets, showerheads, and towel bars. I use a cleaner specifically made for metal or a simple homemade mixture of vinegar and water to remove water spots and soap scum. Polishing these small details makes the bathroom look like new. The result? A shiny, sparkling finish that catches the light and gives everything a sleek, fresh look.
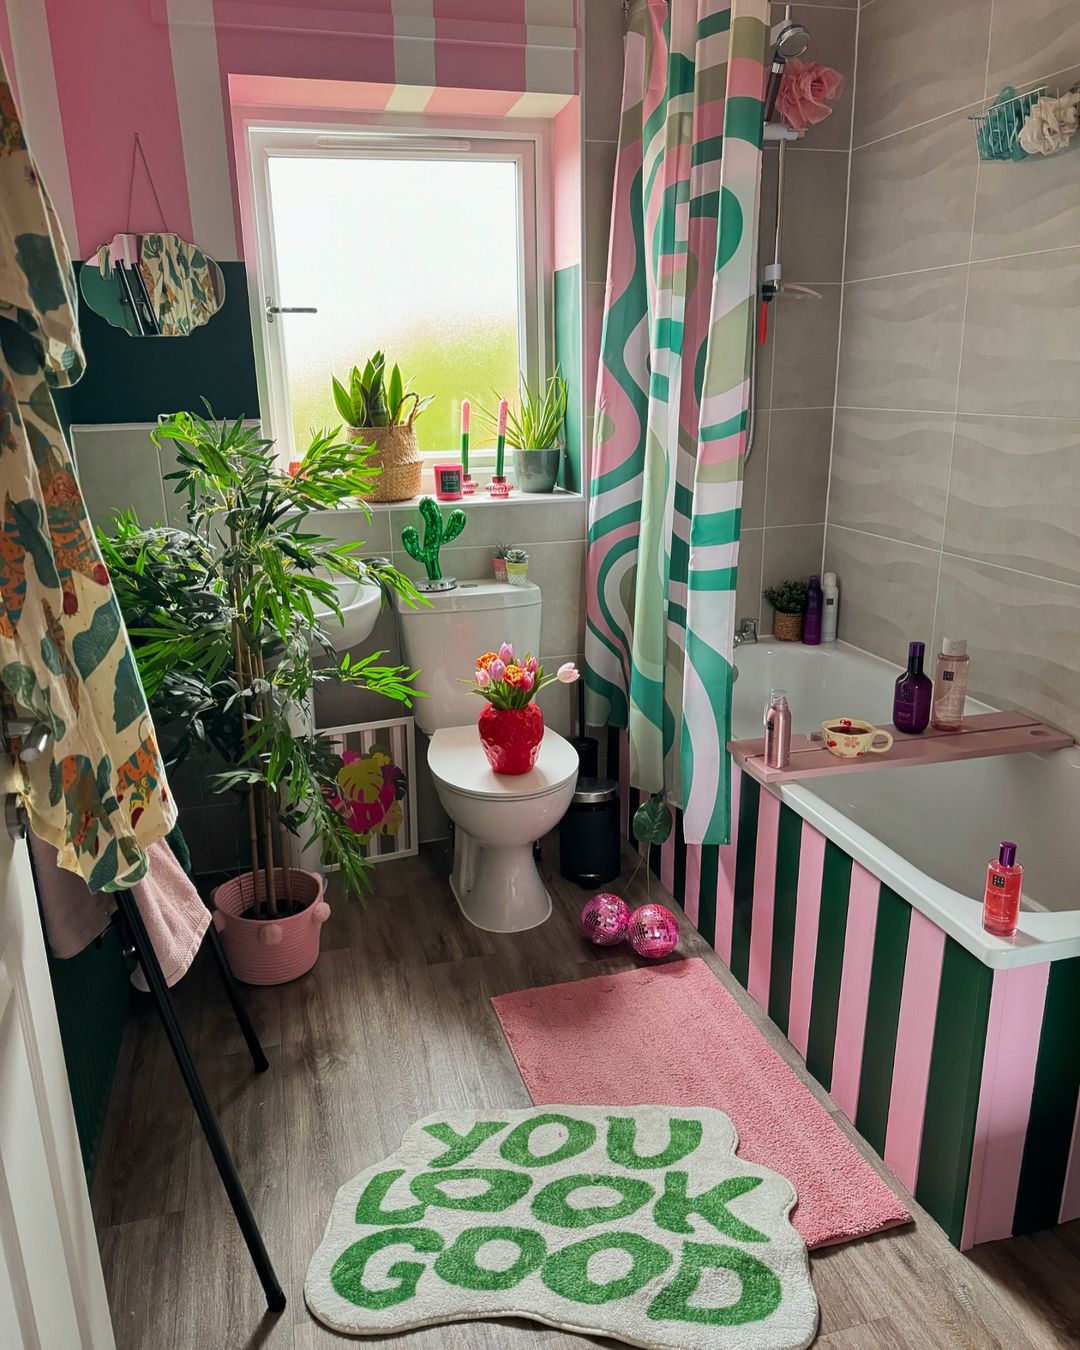 Image by ellashausofcolour
8. Deep Clean Cabinets and Storage
Often, the outsides of cabinets and storage spaces get neglected, but I take the time to wipe them down, especially around the handles where fingerprints build up. I also clean the undersides of cabinet edges, which can gather dust and grime over time. Wiping these areas down with a damp cloth ensures a thorough clean, and afterward, I use a little wood cleaner or furniture spray to maintain the finish. Drawers and cabinets feel fresher, and everything has its place again.
9. Add a Fresh Scent and Final Touches
To wrap up, I focus on making the bathroom smell as good as it looks. I’ll place a scented candle on the counter or use an essential oil diffuser to add a calming scent like lavender or eucalyptus. Fresh towels go on the rack, and sometimes I’ll add a plant or small decorative item to give the bathroom a welcoming, spa-like vibe.
By mixing up tasks and giving attention to each area, I’m able to deep clean the bathroom without getting bogged down in a monotonous routine. The end result is a spotless, sparkling space that feels bright, clean, and refreshed.
How to Deep Clean Your Bedroom
Your bedroom should be a relaxing retreat, but it’s easy for dust, clutter, and everyday messes to build up over time. Deep cleaning your bedroom not only makes it a more comfortable space but also promotes better sleep and a healthier environment. Here’s how to tackle your bedroom deep clean, step by step.
1. Declutter First
I always start by getting rid of the clutter. It’s amazing how quickly things pile up on nightstands, dressers, and in the closet. I go through everything—books, papers, random items—and decide what to keep, toss, or donate. Once the surfaces are clear, I move on to the drawers and closet. Folding clothes and organizing everything helps create more space and makes the room feel instantly tidier.
2. Strip and Wash the Bedding
After decluttering, the next thing I do is strip the bed. I toss everything—sheets, pillowcases, duvet covers, and blankets—into the wash. If it’s been a while, I also wash the pillows and mattress pad. While the bedding is in the wash, I vacuum the mattress to remove dust and allergens. I even sprinkle a bit of baking soda on the mattress, let it sit for 15 minutes, and vacuum it up. It leaves everything feeling fresher.
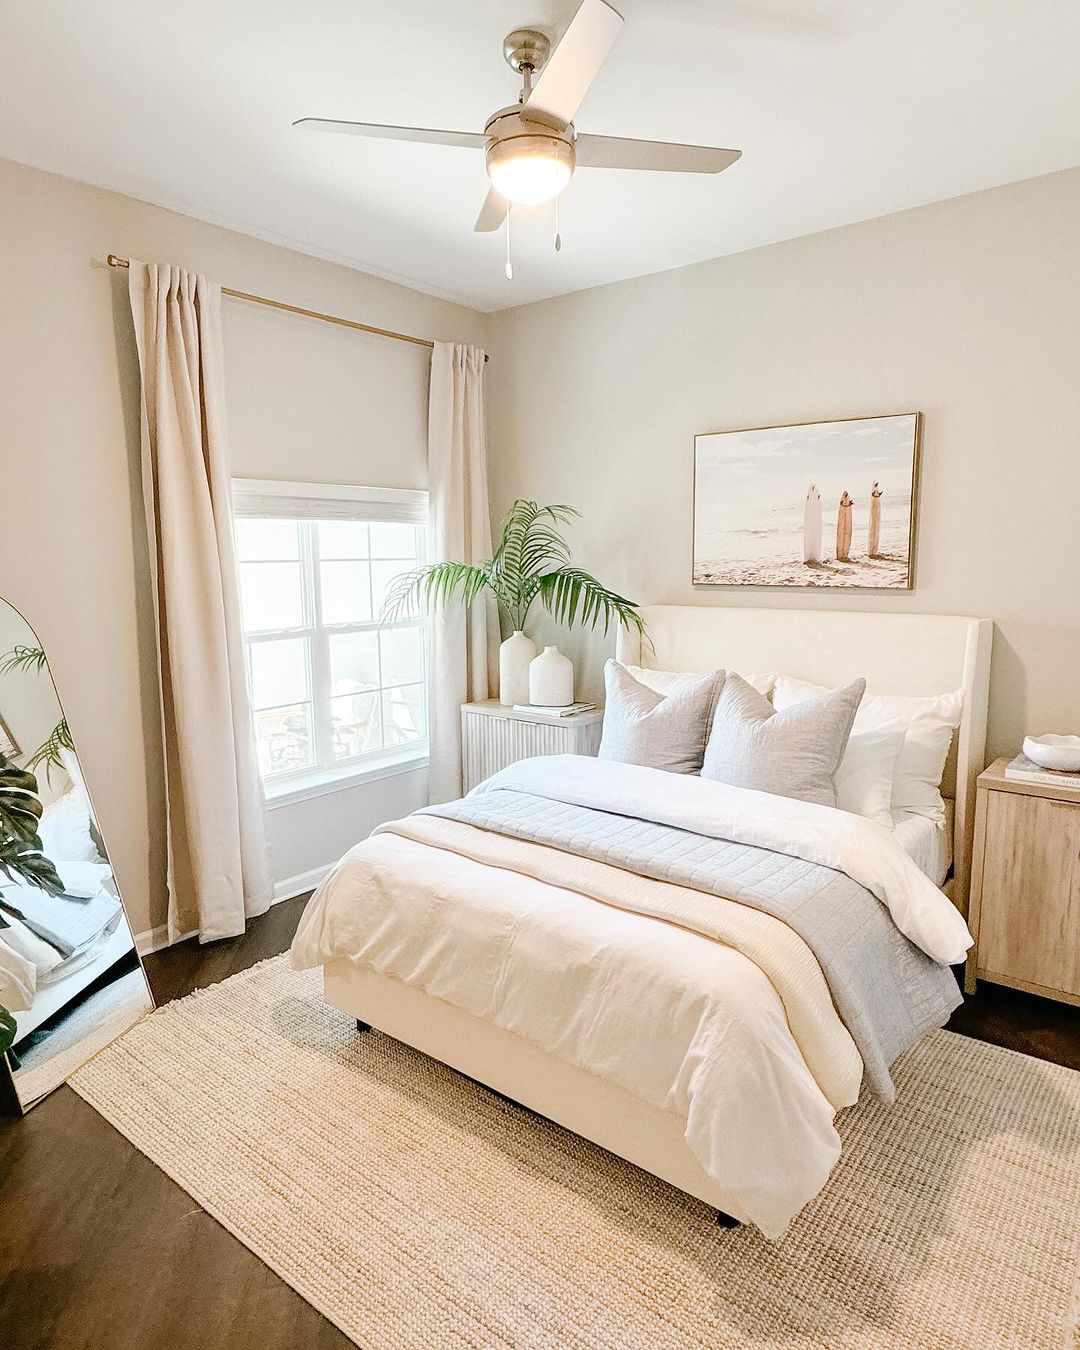 Image by our_sweet_haven
3. Dust Every Surface
Dusting is the next step, and I like to go from top to bottom. I start with the ceiling fan and light fixtures, as they collect the most dust. Then, I work my way down, wiping shelves, dressers, picture frames, and even my books and decor items. For the blinds and curtains, I either vacuum them or give the curtains a wash, depending on the material. This gets rid of the dust that often makes the air feel heavy.
4. Clean the Windows and Mirrors
Once everything’s dusted, I move on to the windows and mirrors. Using a glass cleaner, I wipe them down until they’re streak-free. I’ve noticed that clean windows let in so much more light, and it makes the room feel brighter. I don’t forget the window sills, which tend to collect dust and dirt.
5. Vacuum and Clean the Floors
Now that all the dust has settled, it’s time to clean the floors. I start by vacuuming, making sure to get into corners and under the bed—dust loves to hide there. If you have carpets like me, spot cleaning any stains with a carpet cleaner works wonders. On hardwood floors, I mop with a cleaner designed for wood, making sure to get every inch. It makes a huge difference in how fresh the room feels.
Genevieve Gorder, an interior designer and TV host, recommends “always airing out rooms after deep cleaning to ensure that spaces feel fresh and free of any lingering cleaning product odors”
6. Wipe Down High-Touch Areas
I like to take a few minutes to wipe down high-touch areas like light switches, door handles, and remotes. These spots often get overlooked but can collect dirt and germs. I use a disinfectant wipe to give them a quick but thorough clean. This is one of those small steps that makes a big difference.
 Image by decor_miniz
7. Freshen Up Upholstery and Soft Furnishings
Next, I tackle the soft furnishings in the room. Throw pillows, blankets, and even the rug get a good shake or vacuuming. If the pillows and blankets are machine washable, I’ll throw them in with the bedding. For rugs, I vacuum both sides to get rid of any trapped dust and dirt. This keeps everything feeling and looking fresh.
Read – 25 Most Beautiful Attic Bedroom Ideas You Will Love
8. Organize Closets and Drawers
Once the major cleaning is done, I go back to the closet and drawers. Now that everything is dust-free, I take the time to refold clothes, organize shoes, and tidy up. I like to group items by type or season, which makes it easier to find what I need. An organized closet is key to keeping the room from feeling cluttered again too quickly.
9. Finishing Touches
Finally, I put everything back together. I make the bed with the freshly laundered linens, fluff the pillows, and arrange throw blankets neatly. Sometimes, I’ll add a few finishing touches like lighting a candle or using an essential oil diffuser with a calming scent like lavender. It’s those small details that make the room feel cozy and ready to relax in.
 Image by matouklinens
By breaking down the cleaning process into these steps, I’m able to tackle my bedroom deep clean without feeling overwhelmed. The result? A fresh, organized space that feels inviting and calm—exactly what a deep cleaned bedroom should be.
How To Deep Clean Your Living Room
Deep cleaning your living room might seem like a big task, but when you break it down into manageable steps, it’s totally doable. Here’s how I like to deep clean my living room, leaving it fresh, organized, and inviting:
1. Declutter the Space
I always start by decluttering the living room. Whether it’s magazines, toys, remote controls, or random items that don’t belong there, I make sure everything is in its proper place. I throw away or recycle anything that’s no longer needed, and store items in bins or drawers to keep things organized. A clutter-free space not only looks better but also helps make the actual cleaning process easier.
 Image by my_bohointerior_
2. Dust from Top to Bottom
Once the clutter is gone, I begin dusting the room. It’s important to start at the top and work your way down so that dust doesn’t settle on areas you’ve already cleaned.
- Ceiling fans and light fixtures: These collect a surprising amount of dust, so I give them a good wipe-down with a microfiber cloth or duster.
- Shelves, picture frames, and decor: I carefully dust each surface, including books, frames, and decorative items. Using a microfiber cloth or a soft brush works best to avoid scratching delicate surfaces.
- Blinds or curtains: I dust the blinds or vacuum the curtains to remove any dust or pet hair.
Bobby Berk, of Queer Eye fame, suggests, “When deep cleaning, always clean from top to bottom. Dust ceiling fans and shelves first, so you don’t need to re-clean the floors later”
3. Clean the Upholstery
The furniture in the living room often collects dust, crumbs, and stains, so I spend some time freshening it up.
- Cushions and pillows: I remove and shake out cushions to get rid of any crumbs or dust. If they have removable covers, I’ll toss them in the wash. For pillows and throws, I either machine wash or vacuum them to remove dust and allergens.
- Sofas and chairs: I vacuum the upholstery, paying extra attention to cracks and crevices where debris tends to gather. If there are any stains, I use an upholstery cleaner or a simple mixture of water and mild soap to spot-clean the fabric.
4. Polish Wood Furniture and Surfaces
After dusting, I polish wood furniture to bring back its shine. I use a wood-safe cleaner or polish and gently wipe down surfaces like coffee tables, shelves, and TV stands. Regular polishing not only cleans the wood but also protects it from wear and tear, keeping it looking its best for longer.
5. Tackle the Floors
Floors in the living room collect dust, dirt, and debris, especially in high-traffic areas. Depending on the type of flooring, I handle them accordingly:
- Hardwood or tile floors: I sweep or vacuum first to remove dirt, then mop the floor with a wood or tile-safe cleaner. Paying attention to corners and under furniture helps ensure that no spots are missed.
- Carpets and rugs: For carpeted floors, I vacuum thoroughly, making sure to go over high-traffic areas multiple times. If any stains are present, I use a carpet cleaner to spot-clean them. For area rugs, I vacuum both sides and, if needed, take them outside to shake out the dust.
 Image by shers.life_
Read – 26 Stylish And Functional Living Room Poufs You Will love
6. Wipe Down Electronics
Electronics like the TV, sound systems, and remote controls are often overlooked but can gather dust and fingerprints.
- TV screen: I use a screen-safe cleaner or a microfiber cloth to gently wipe away dust and smudges.
- Remotes and consoles: I disinfect remote controls, gaming consoles, and other frequently touched electronics with a disinfectant wipe to ensure they’re both clean and germ-free.
7. Clean Windows and Mirrors
Windows and mirrors in the living room often get overlooked, but cleaning them makes a big difference in how fresh and bright the room feels. I use a glass cleaner to wipe down windows, mirrors, and any glass surfaces like coffee tables or display cabinets. Making sure to dry them with a clean cloth prevents streaks and leaves them sparkling.
Sarah Sherman Samuel, a minimalist designer, advises focusing on high-traffic areas. “Deep clean rugs and upholstery in living spaces, as these are the most used items in your home”
8. Refresh Soft Furnishings
To finish up, I like to fluff and arrange pillows, fold blankets, and make sure all soft furnishings look neat. If they’ve been washed or vacuumed, they’ll feel fresh and clean, adding to the overall look of the room.
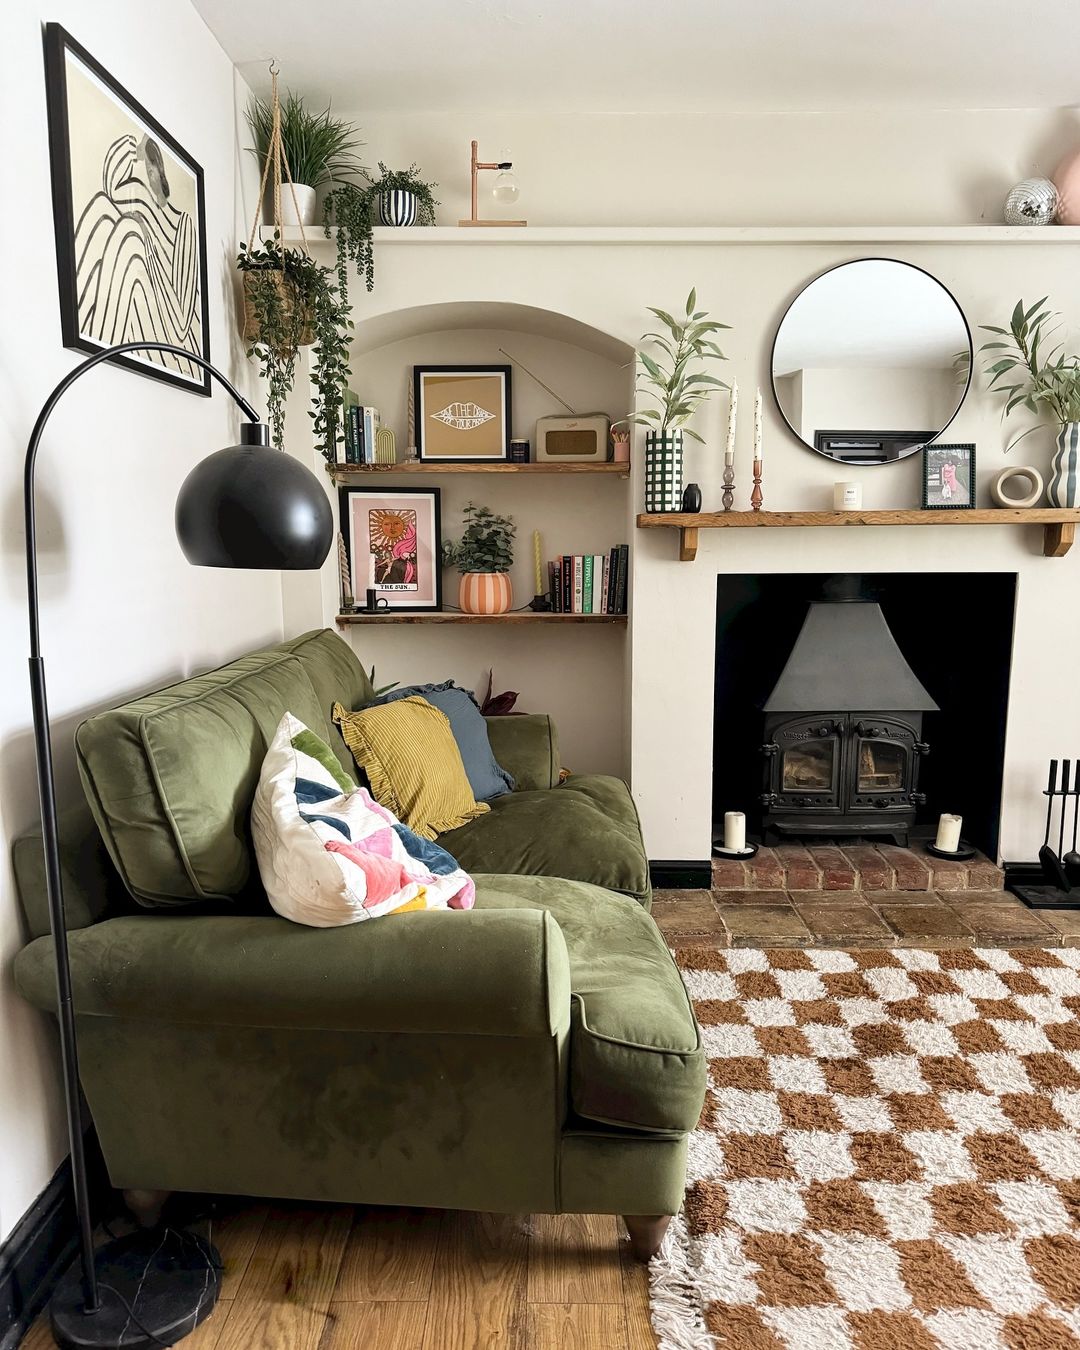 Image by thegreenwoldgaff
9. Final Touches
Before wrapping up, I check for any missed spots, like door handles, light switches, or baseboards. Giving them a quick wipe-down ensures the whole room is spotless. I might also light a candle or use an essential oil diffuser to give the room a nice, fresh scent.
By taking it one step at a time, I’m able to deep clean my living room without feeling overwhelmed. The result is a fresh, organized, and cozy space that feels ready for relaxation or entertaining guests. A well-maintained living room not only looks good but also creates a more comfortable and enjoyable environment for everyone!
How To Deep Clean Entryway And Hallways
1. Dust and Clean High Surfaces
I always start by dusting the higher areas like light fixtures, shelves, and vents. These spots collect a lot of dust that can go unnoticed, so it’s important to wipe them down thoroughly. I also make sure to dust any picture frames or artwork on the walls to keep everything looking fresh and dust-free.
2. Clean the Walls
Entryways and hallways see a lot of traffic, so the walls often have scuff marks or fingerprints. I like to use a damp cloth or a mild cleaner to wipe down the walls, especially around light switches, doorways, and along the sides where people tend to brush past. It instantly makes the space look cleaner.
3. Polish the Door and Handles
The front door is the first thing people see, so I always make sure it’s clean. I wipe down both the inside and outside of the door, focusing on any dirt or marks that build up over time. I also clean the handles and locks, giving them a little polish to make them look shiny and new.
 Image by linseydawninteriors
Read – 25 Beautiful And Elegant Entryway Mirror Ideas
4. Clean the Floors
Floors in the entryway and hallway get a lot of wear, so I sweep or vacuum to pick up dirt and dust. If you have hardwood or tile, mopping will make the floors shine. For carpets, I vacuum thoroughly, and if there are any stains, I spot clean them. Rugs and mats in the entryway also get a deep clean—either by shaking them out or giving them a wash.
5. Organize Shoes and Coats
After cleaning, I like to put everything back in an organized way. Shoes go on a rack, coats are neatly hung up, and keys or small accessories go in designated spots. Keeping these areas organized not only looks nicer but also makes the entryway more functional.
6. Wipe Down Baseboards
Baseboards can collect a lot of dirt, especially in high-traffic areas. I give them a quick wipe with a damp cloth to get rid of any dust or scuffs. Clean baseboards always make the room feel more polished.
Nate Berkus, a celebrity interior designer, emphasizes the importance of cleaning the often-overlooked areas. “Don’t forget to vacuum and clean behind large furniture pieces—dust builds up quickly in those hidden spots”
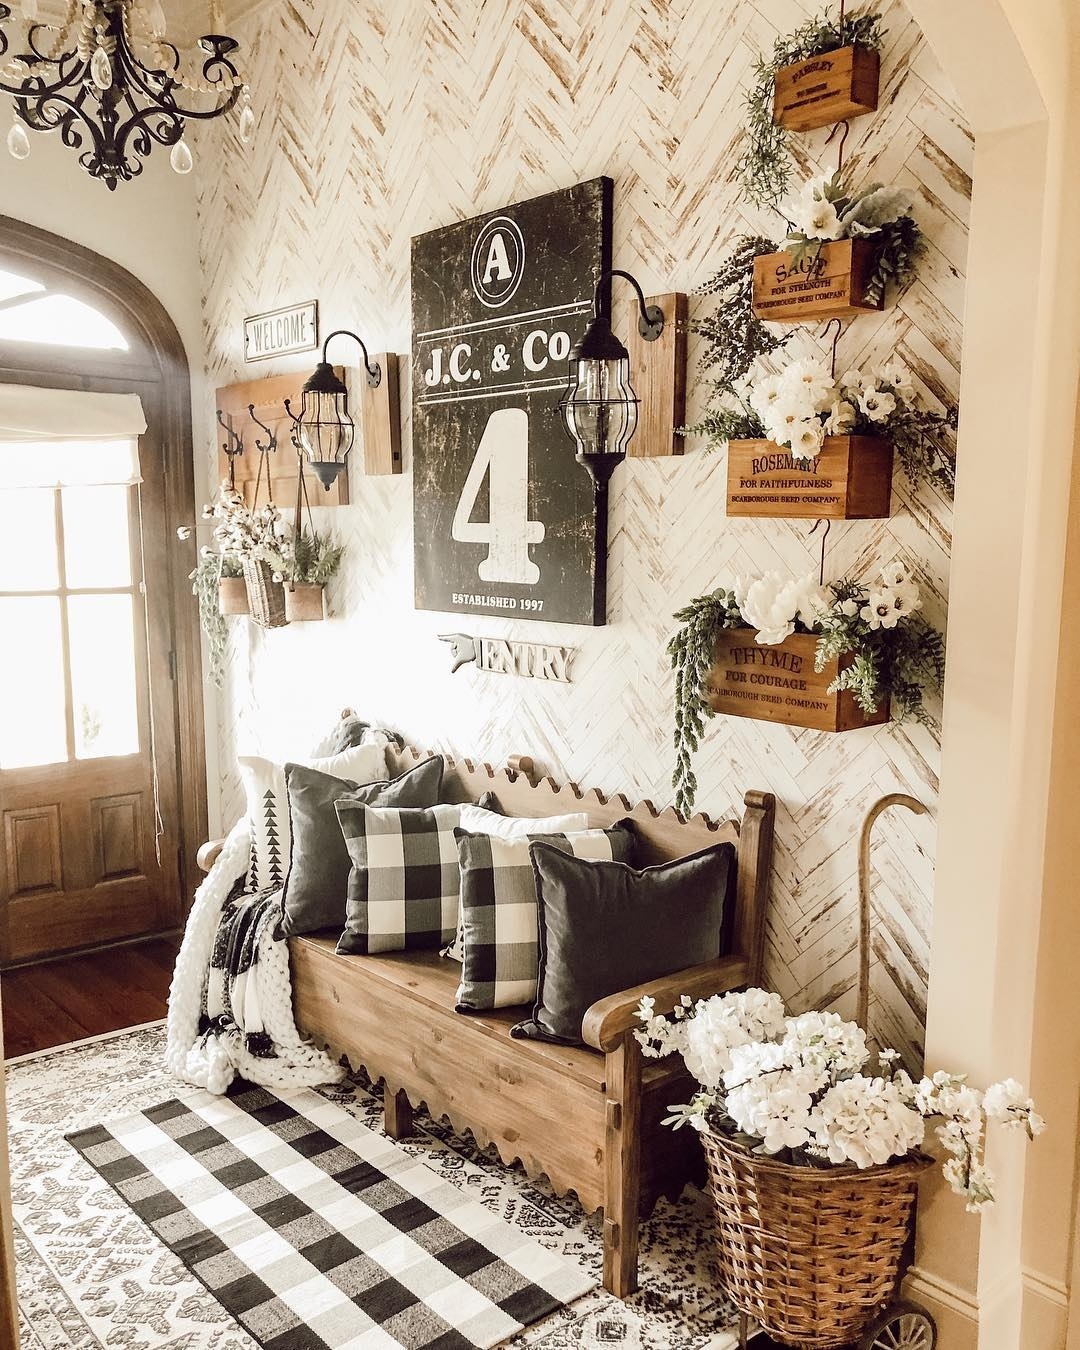 Image by decorsteals
7. Clean Mirrors and Glass
If you have mirrors or glass in your entryway, a quick wipe with a glass cleaner makes a big difference. Mirrors reflect light and can make the space feel brighter, but only when they’re clean and streak-free.
8. Add a Fresh Scent
As a finishing touch, I like to add a subtle scent to the entryway with a diffuser or a light air freshener. It makes the space smell fresh and welcoming.
How To Deep Clean Bonus Rooms (Offices, Guest Rooms, Playrooms)
Deep cleaning bonus rooms like offices, guest rooms, or playrooms can be straightforward. I start by tidying up the space, putting away clutter like papers, toys, or anything that doesn’t belong. Then, I dust from top to bottom, clean windows and mirrors, and wipe down all surfaces such as desks, tables, and shelves.
After that, I make sure to sanitize high-touch areas like light switches and door handles before vacuuming or mopping the floors. If there are any soft items like pillows, blankets, or rugs, I either wash or vacuum them.
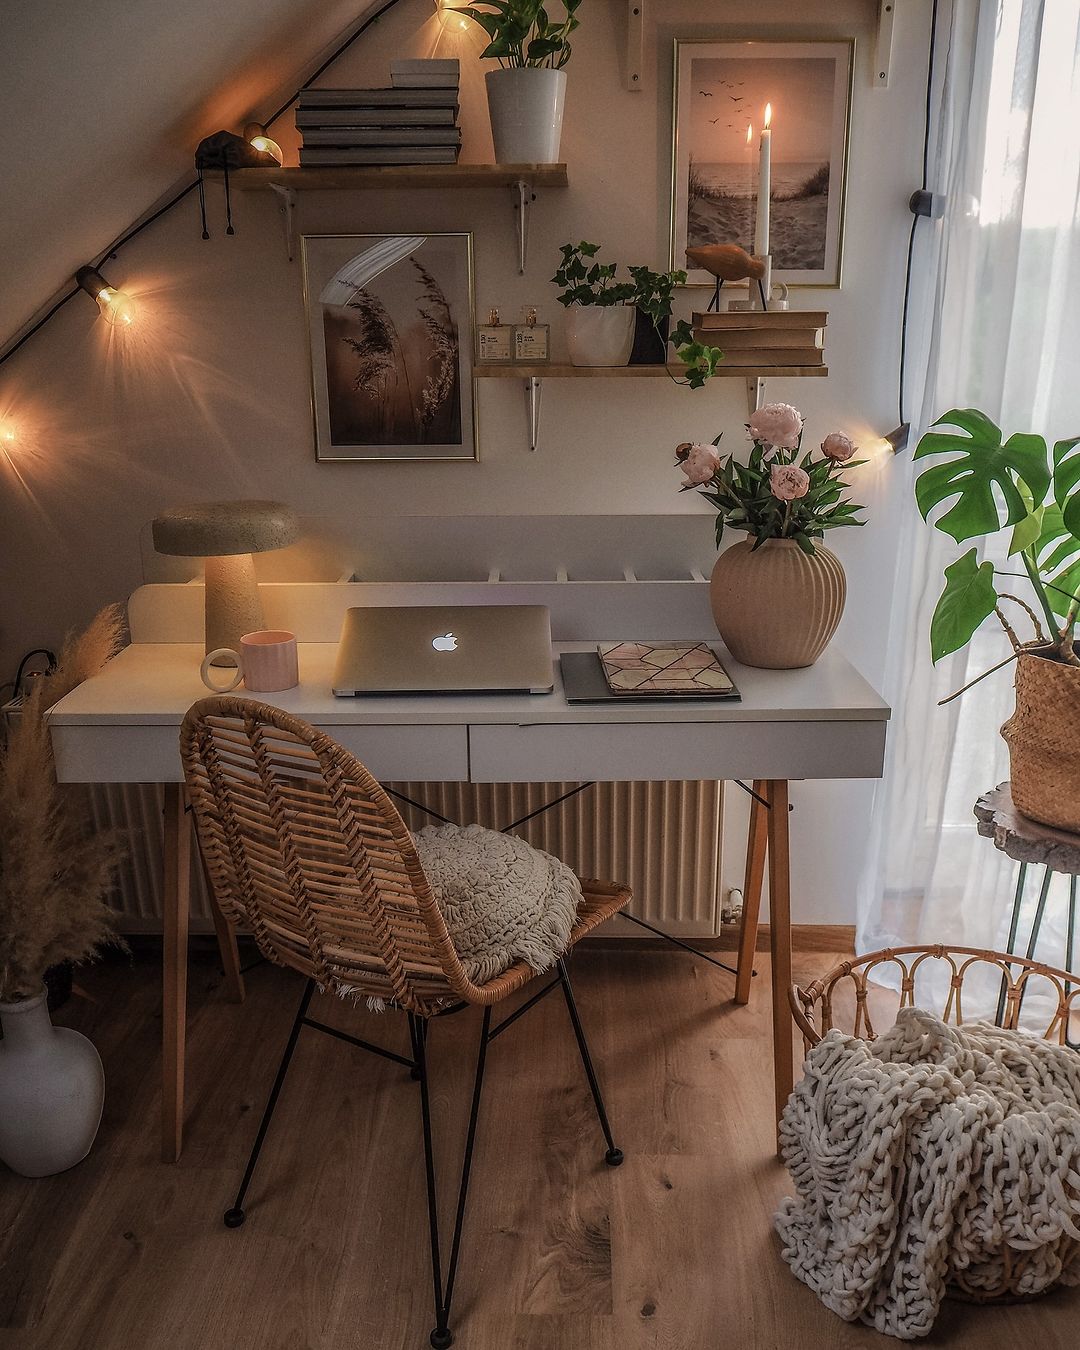 Image by tatiana_home_decor
Once the room is clean, I organize everything neatly—sorting papers in the office, making the bed in the guest room, or organizing toys in the playroom. Finally, I add a fresh scent with an air freshener or diffuser to make the space feel inviting. These simple steps help keep bonus rooms clean, organized, and ready for use!
Read – 25 Cozy And Timeless Woodland Nursery Decor Ideas You’ll Love